Special finishes course – layers
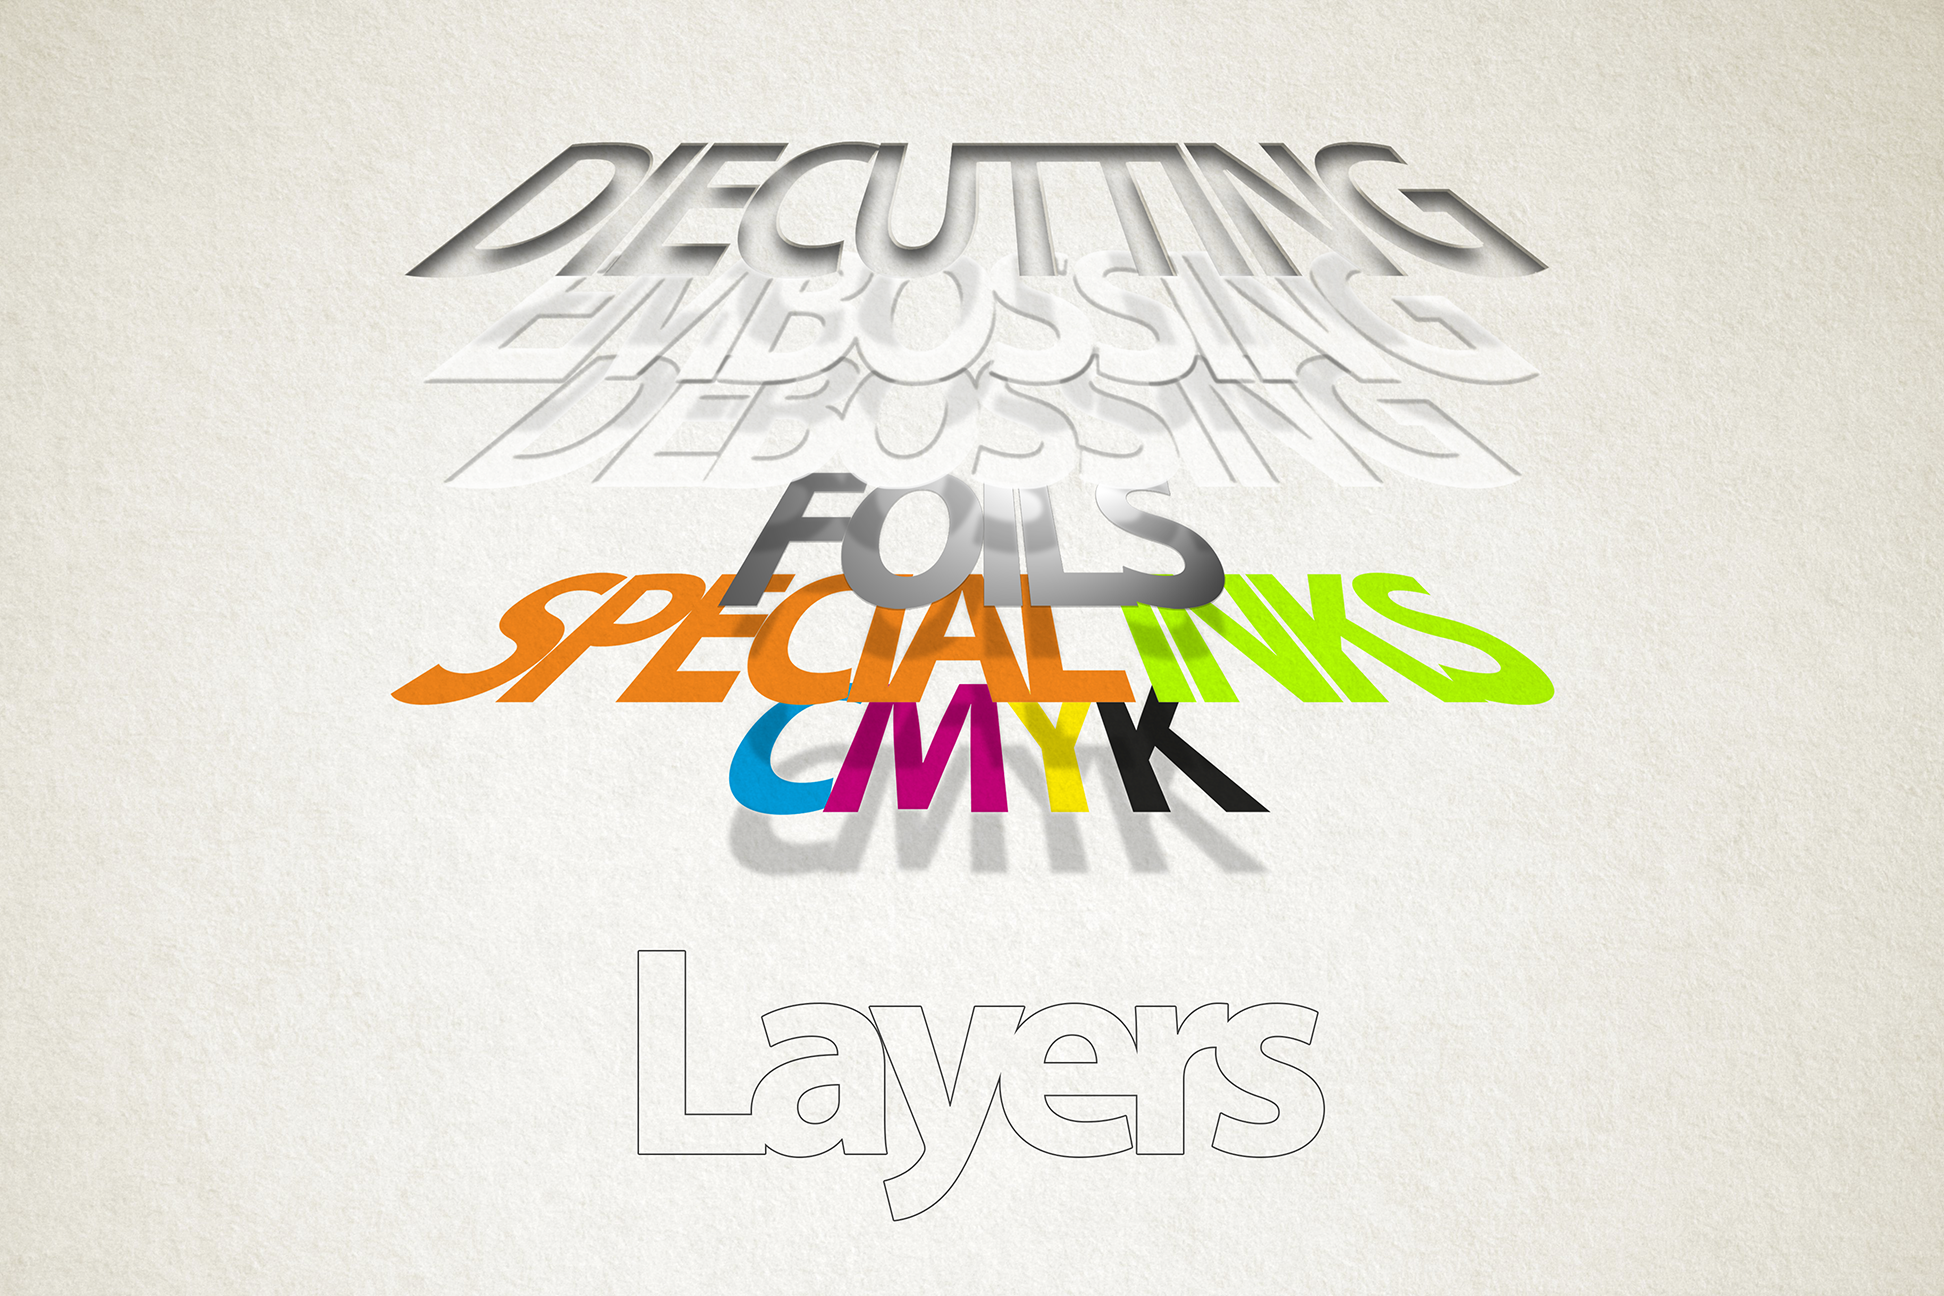
Layers
- All special finishes should be set up on their own layer in InDesign. This is a necessity for printers who require separations to be supplied as their own PDF. It makes it easier to edit when it is independent from the CMYK and text layer and also makes it easy to remove for co-eds who do not want to take the finish due to its additional costs.
- Always name the layer the same as the special finish placed on it. This makes layer navigation and file checking easier.
- Try to stack your layers sequentially in InDesign as it can make it easier for you or anyone else to work on and check your files.
In most cases, your finish layer/channel must not affect any of the design below it (overprint), as this could cause fit/registration issues in press. Overprint can be achieved by using the Overprint attribute in InDesign and the result checked using Separations Preview in InDesign and Overprint Preview in Acrobat.
Creating and using a spot colour is straight forward in InDesign and Illustrator swatch palette, but in Photoshop is a little tricky and requires more understanding of what is possible.
Making a mask from the original design and converting to to high-res greyscale bitmap is the recommended solution.
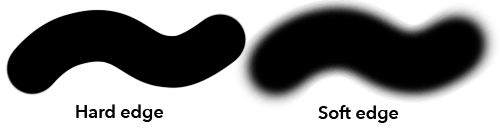
All finishes (foils, laminations, embosses) must have a ‘hard edge’ to them. Only inks (inc. Pantones) can have tints, gradations and ‘soft edge’ designs.