Co-edition coloured text on pictures, illustrations and photographs
Introduction
This page covers instructions on how to make advanced co-edition designs in-house. For out-of-house co-edition publisher instructions, please read the co-edition page.
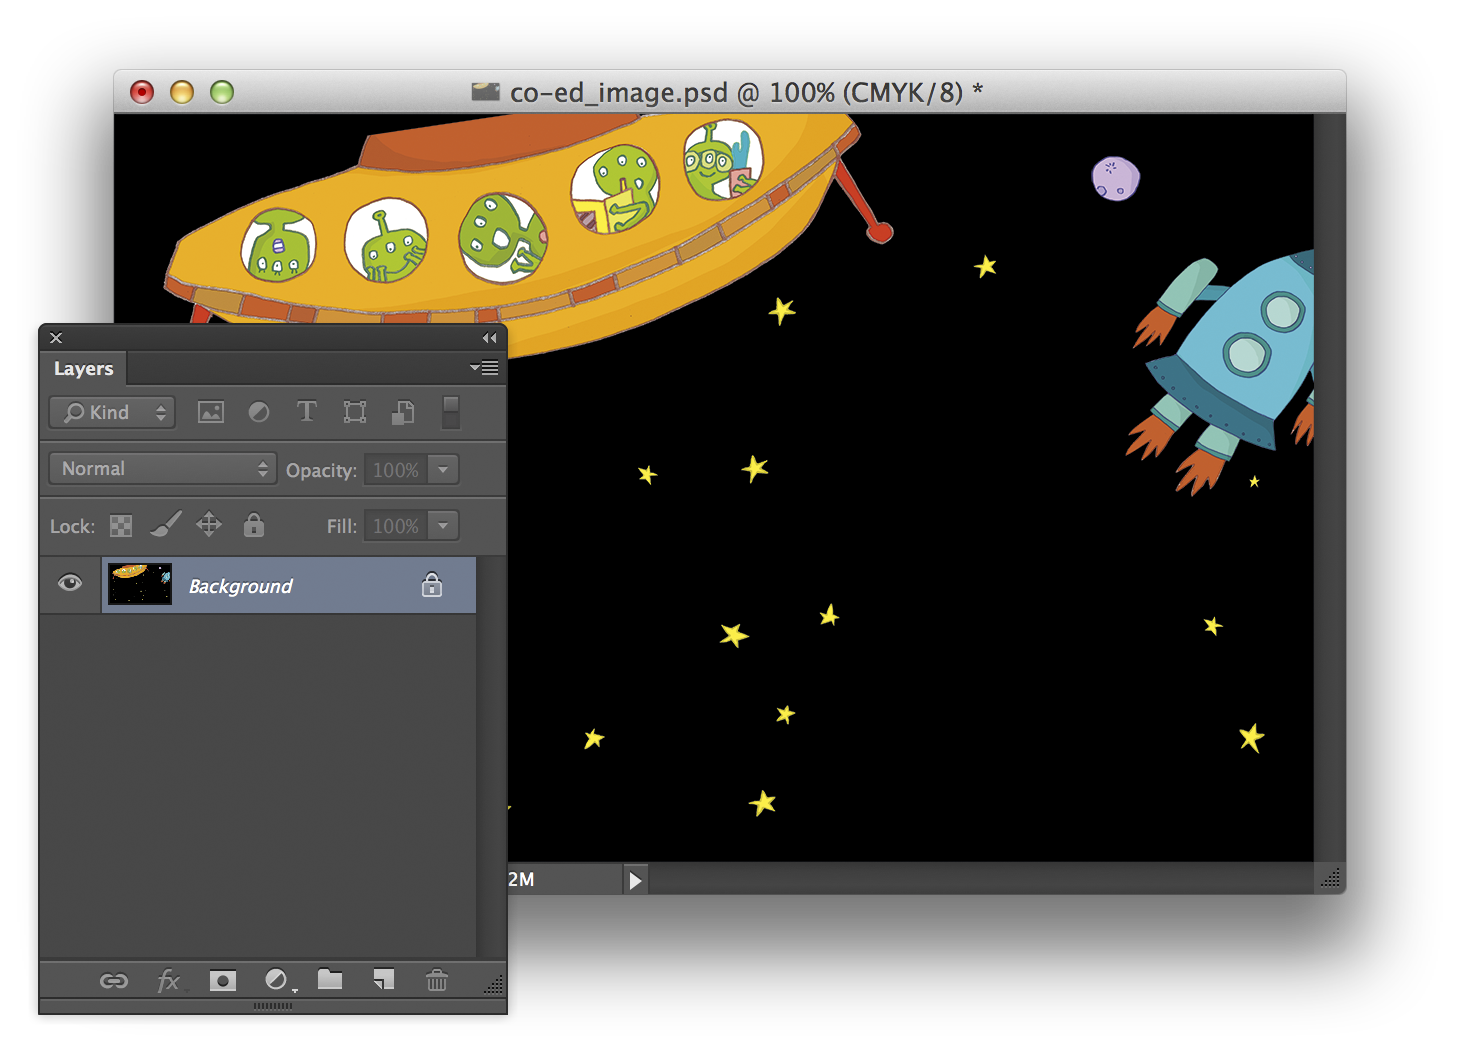
Co-edition images
To make an image co-editionable, simply open the image in Photoshop and convert all colour data to Greyscale (mono) using Colour Mode. After it becomes black, it can be treated in the same way as text.
- Convert to greyscale
- Save as Photoshop Tiff (.tif) format
- Image is placed on the translation layer and set to overprint.
If you want to retain colour but have translatable text over the image, follow guidelines below.
Co-edition text over colour images
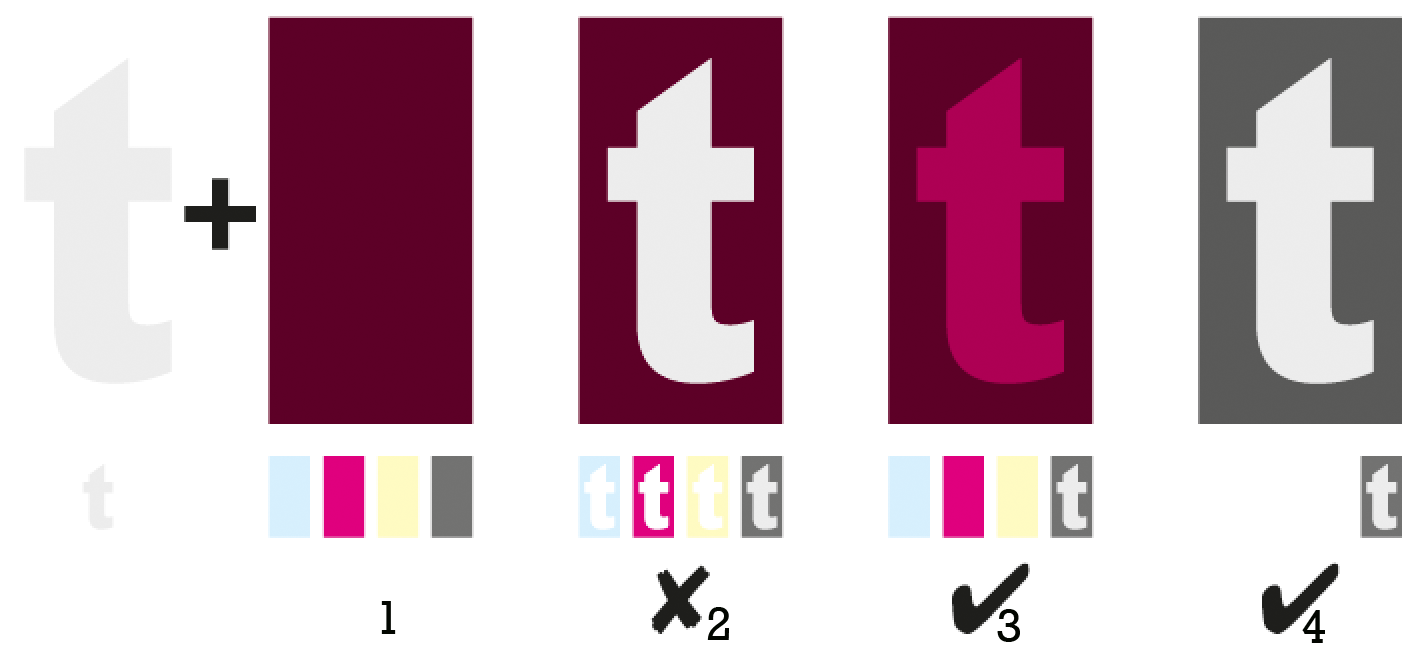
All co-edition text must be a tint of black (1% to 100%) and set to overprint, there is no exception. The paper swatch, any percentage of CMY above 0%, or ‘white’, cannot be used directly on text.
The final text colour, is determined by the underlying common colour layer in InDesign (CMYK layer), because the co-edition text is overprinting and interacts only with the black channel/ink. So for example, text set to 70%K on the text layer, over 30%M on the CMYK layer, will look a dull pink when printed.
White text
To achieve white text (coloured 1%K), the underlying common CMYK layer;
- image must be greyscale with no other colour except black
- box should be coloured to any tint of black with a 1% cyan, 1% magenta, and 1% yellow swatch
- must be clear of any design and is plain paper
Colour text
To achieve coloured text, the underlying CMYK layer;
- image must have any %CMY with a strong %K tint for text legibility, while the text will take on the underlying %CMY of the image but with its 1%K tint (virtually invisible)
- box has been set to a %CMYK swatch containing the text colour you want plus significant black
The graphic below shows how text not overprinting (knockout), will affect CMY channels (point2) while correctly set-up, co-edition reversed text should only affect the black ink (and will produce coloured text (point3)), or the underlying image/box must be turned to black (to produce white text (point4)).
Special effects
If you want more integrated text and image design, some Photoshop retouching will be required. Images beneath text should follow this process:
- Selected images must be converted to CMYK, using “Coated Fogra39” for coated paper, “PSO Uncoated ISO12647” for uncoated.
- You can retain RGB adjustments as a ‘smart object’, or if they’re simple flatten the image. Ask a DK CTS or Penguin Production for ‘smart object’ training.
- Adjustment layers should have editable masks.
- Photoshops, ‘Gradient Map’ should be used to transfer all the colour data to the images black channel.
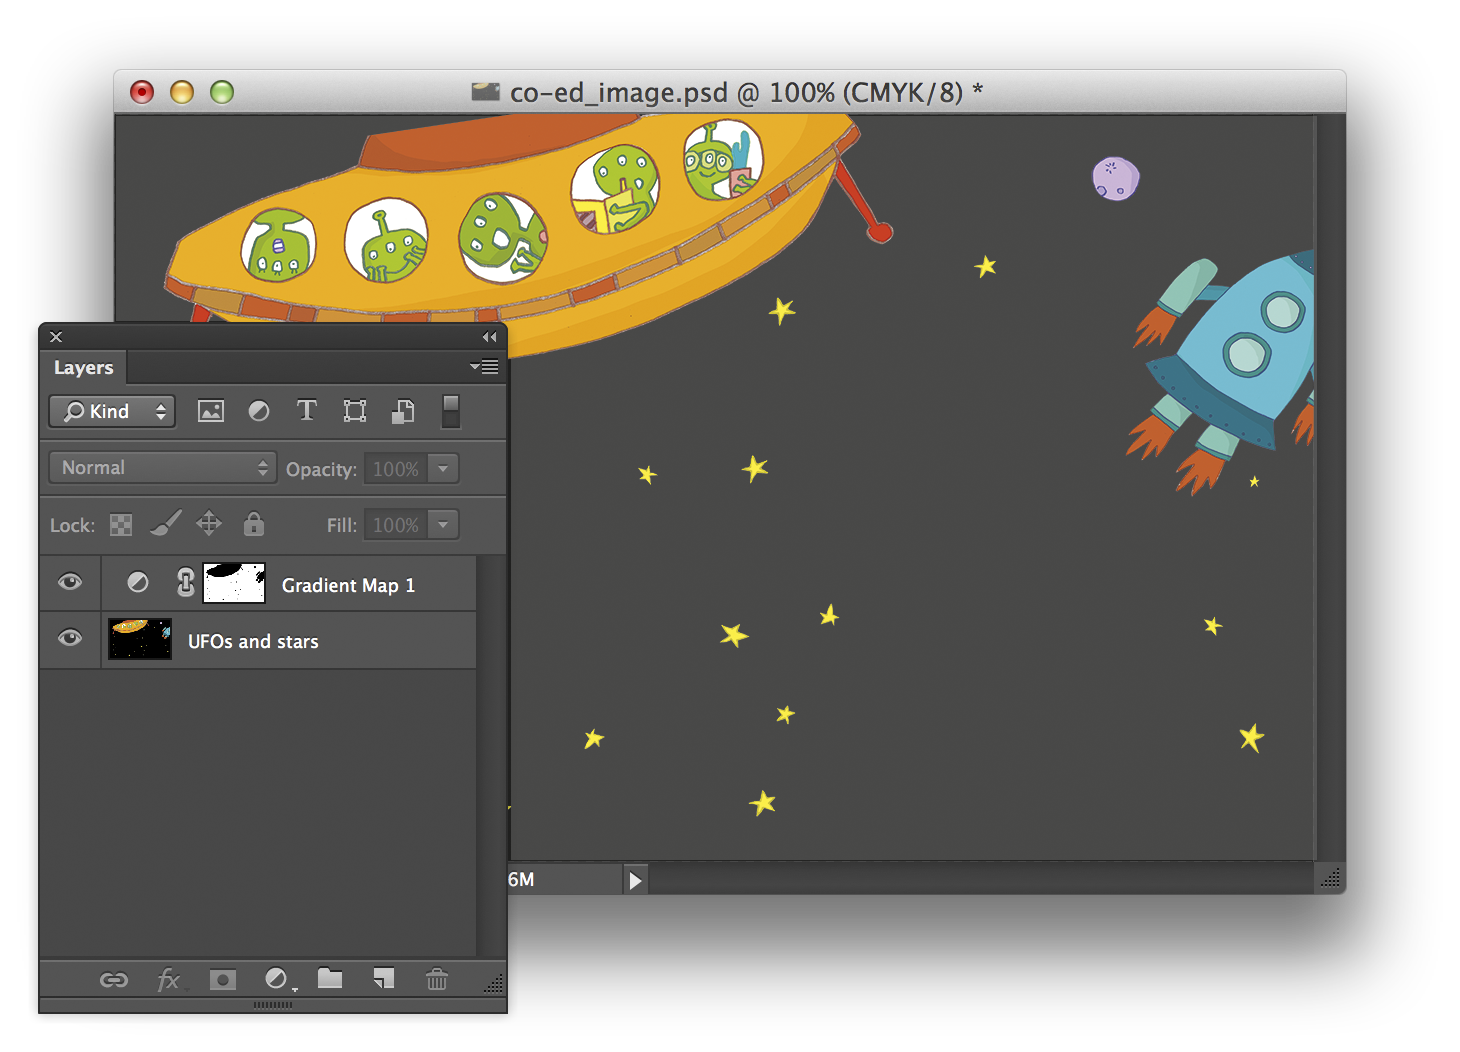
- Image remains on the InDesign CMYK layer, do not move to the translation layer.
- Save the file as Photoshop (.psd) format.
The simplest method to make translation text legible over a colour image, is to edit the image partially using Photoshops ‘Gradient Map’ adjustment layer and masking areas you want to affect.
Editing an image to produce white text
Convert the image to the correct CMYK colour profile mentioned above
Select the pixels you want in the co-editionable text position (we recommend editing all black areas consistently), using the Brush tool, Magic Wand tool, Colour Range, or a method that can select pixels by colour.
In the Layers palette, select the Gradient Map option and double click on the gradient in the window that appears in the Properties window.
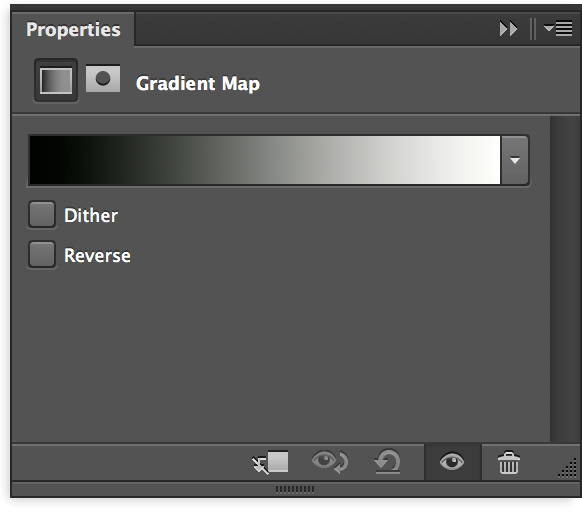
Select the ‘Black, White’ Preset and in ‘Gradient Type’ gradient below, double click on the bottom left black tab.

Change the colour in the Picker to Cyan 0%, Magenta 0%, Yellow 0% and Black 100%. This changes all colour data, relatively, into mono data and retains all tint details.
Click OK through those open windows. You may need to invert the ‘Gradient Map’ mask now shown in the layers palette.
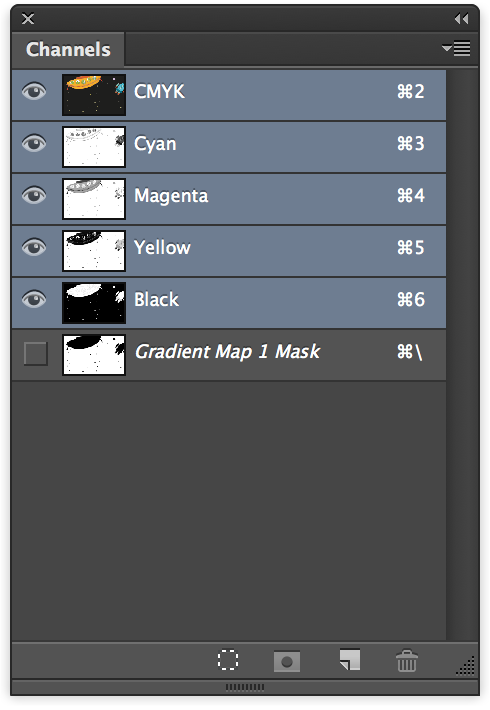
Check the colour channels show the pixels selected have been disappeared from the CMY channels and that black is present in the K channel.
Editing an image to produce colour text
To create an image that produces coloured text:
- On opening the image, convert to CMYK using the correct colour profile
- Duplicate the Background layer (the original picture) and set its blend mode from ‘Normal’ to ‘Darken’
- Create the colour you want the text to be using a Solid Colour… layer and move it below the duplicate image (tip: use the colour picker to pick similar colour to the background but more saturated
- Use or create the Gradient Map layer from the instructions above, move it above the the duplicate image and link it to the copy of the background image
- Group the layers together in folder and move the mask from the gradient map to the folder if one has be created, or create a mask on the folder using the using the instructions from the ‘White text’ section above.
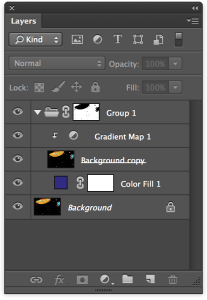
You should have a folder structure, something like the screen grab above. The ‘Colour Fill’ can be edited to determine the colour of your InDesign reversed-out text. You may need to add and link a Curve layer to the Gradient Map to lighten the effect.
The result will become apparent when the image is placed in InDesign with 1%K translatable text over the image, and Separations Preview enabled.