Sales material
Printed dummies
You may be asked by the printer to supply a flatplan, indicating if blank pages are required at the start of the book, as shown in the example below:

If the dummy prints back to back with another title (see example below), this should also be clearly stated on the flatplan.
- Ensure design and text are final and picture rights are cleared.
- Export (cmd E) InDesign spreads to PDF, selecting the appropriate PDF preset (coated PRH_PDF_CMYK_Coated39 or uncoated PPRH_PDF_CMYK_Uncoated47) with both text and CMYK layers visible, as single pages.
- For jackets, export (cmd E) the InDesign document to PDF selecting the PRH_PDF_Jackets_Coated39 PDF preset.
- Place in the book’s ‘Sales Materials’ folder and let Pre-Production Producer know.
Tentpole, WIP & final Jackets (UK & US)
Please follow the instructions below so that your jackets preview correctly in Biblio 3, DK.com, Amazon.com etc.
- Before exporting the jacket, please download this quick Exporter update which will produce jackets with and without keylines automatically. (This update will not be needed once the next Fuse release has taken place):
https://drive.google.com/u/0/uc?id=17z4BW3iw9SddJ6I0wxX5XbejmoBBKylh&export=download - Double click on the quick update. You should get this message: “Tools have been updated successfully”.
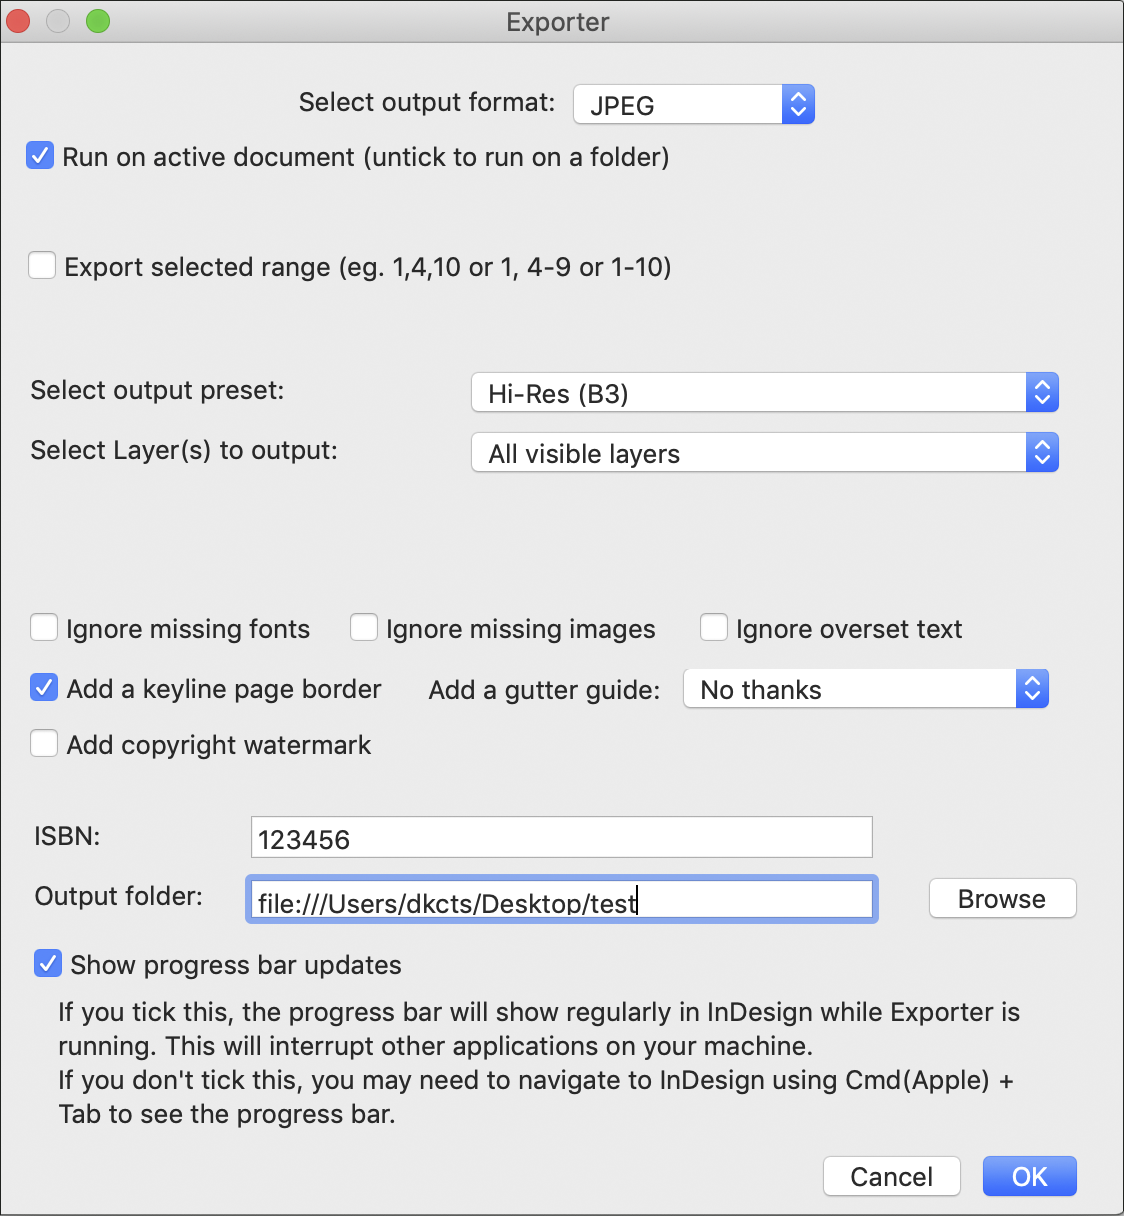
- Export the jacket as a JPG via Exporter from the Fuse menu as per the screengrab below (if you need to do a batch of jackets, untick Run on active documents).
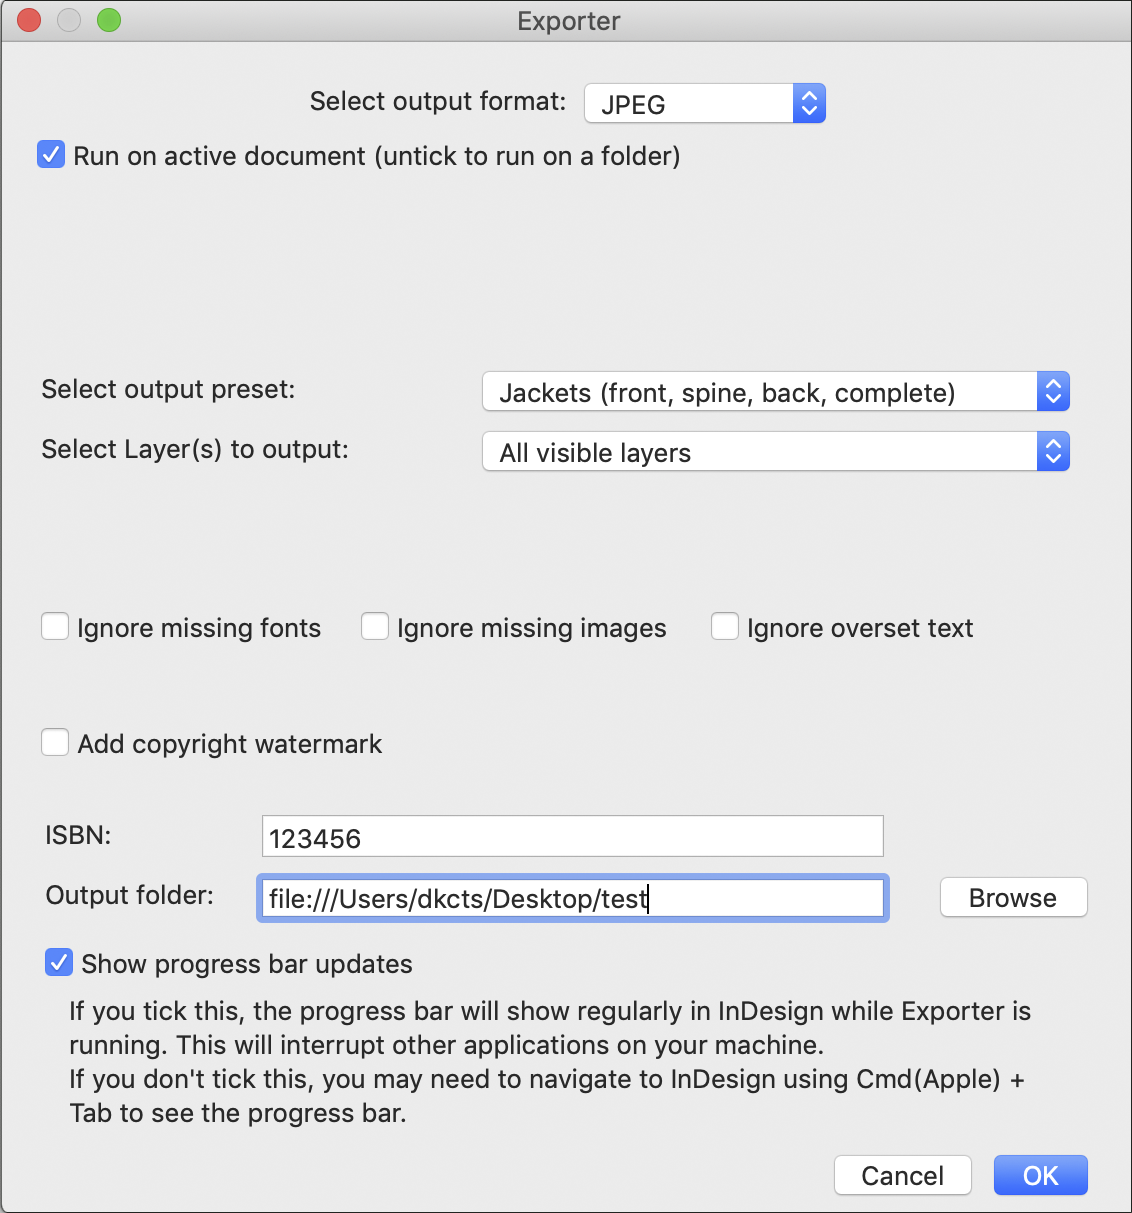 This setting will produce and automatically name each component of the jacket as follows:
• ISBN_Back_Keyline.jpg
• ISBN_Back.jpg
• ISBN_JKT.jpg (full jacket)
• ISBN_Spine.jpg
• ISBN_Keyline.jpg (front cover)
• ISBN.jpg (front cover) - If you need to add a hinge crease to the front of the jacket, please check with Phil Ormerod what the specs should be.
- Send a copy of the front (with keyline) & spine (without keyline) only to the Delhi office so that they can create the 3D version of the jacket in Boxshot.
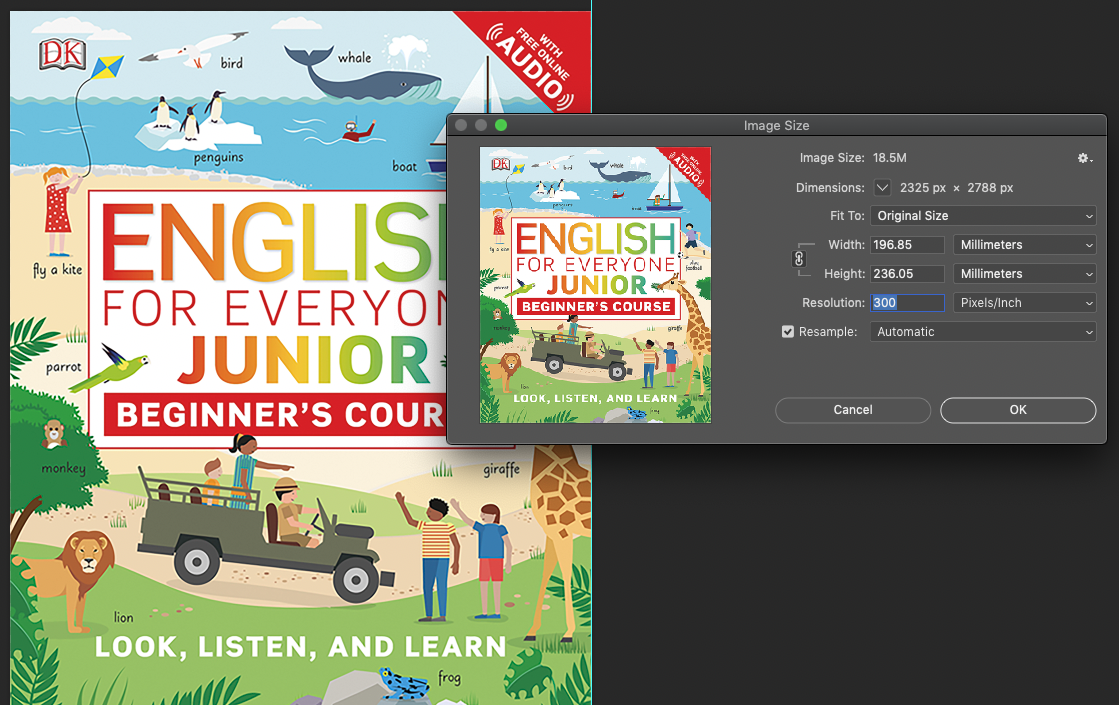
- Run Image Processor on a batch of images from Photoshop by going to File > Scripts > Image Processor… and change the information in the panel so that it looks exactly like the screenshot below. (Although the pixel size indicated below is square, this will not alter the aspect ratio of your images).
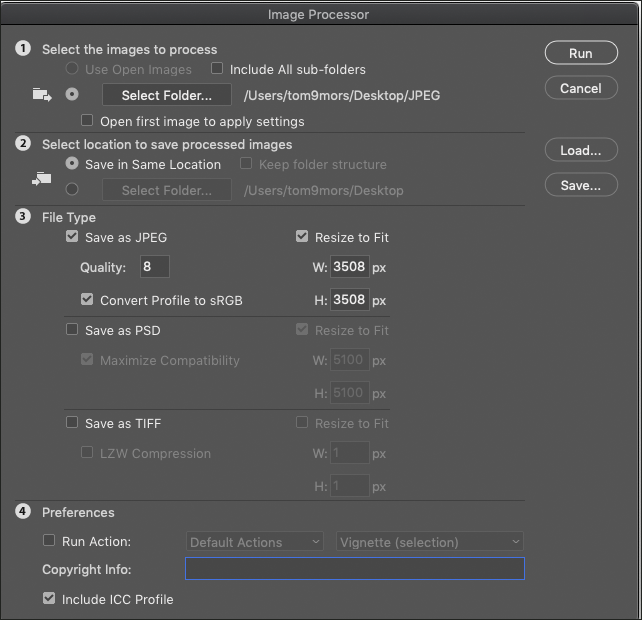
- Click on ‘Run’ and all your jacket components will automatically be resized and saved as sRGB. These new jackets will automatically be saved in a new folder called ‘JPEG’ next to the original.
- Let your Sales/Jacket Coordinator know when these are ready. Delhi will upload the 3D version of the jacket on B3.
Tentpole, WIP & final Spreads (UK & US)
This is a hi-res file of the spread containing all design and text elements.
Please follow the instructions below so that your spreads preview correctly in Biblio 3, catalogues, DK.com, Amazon.com etc.
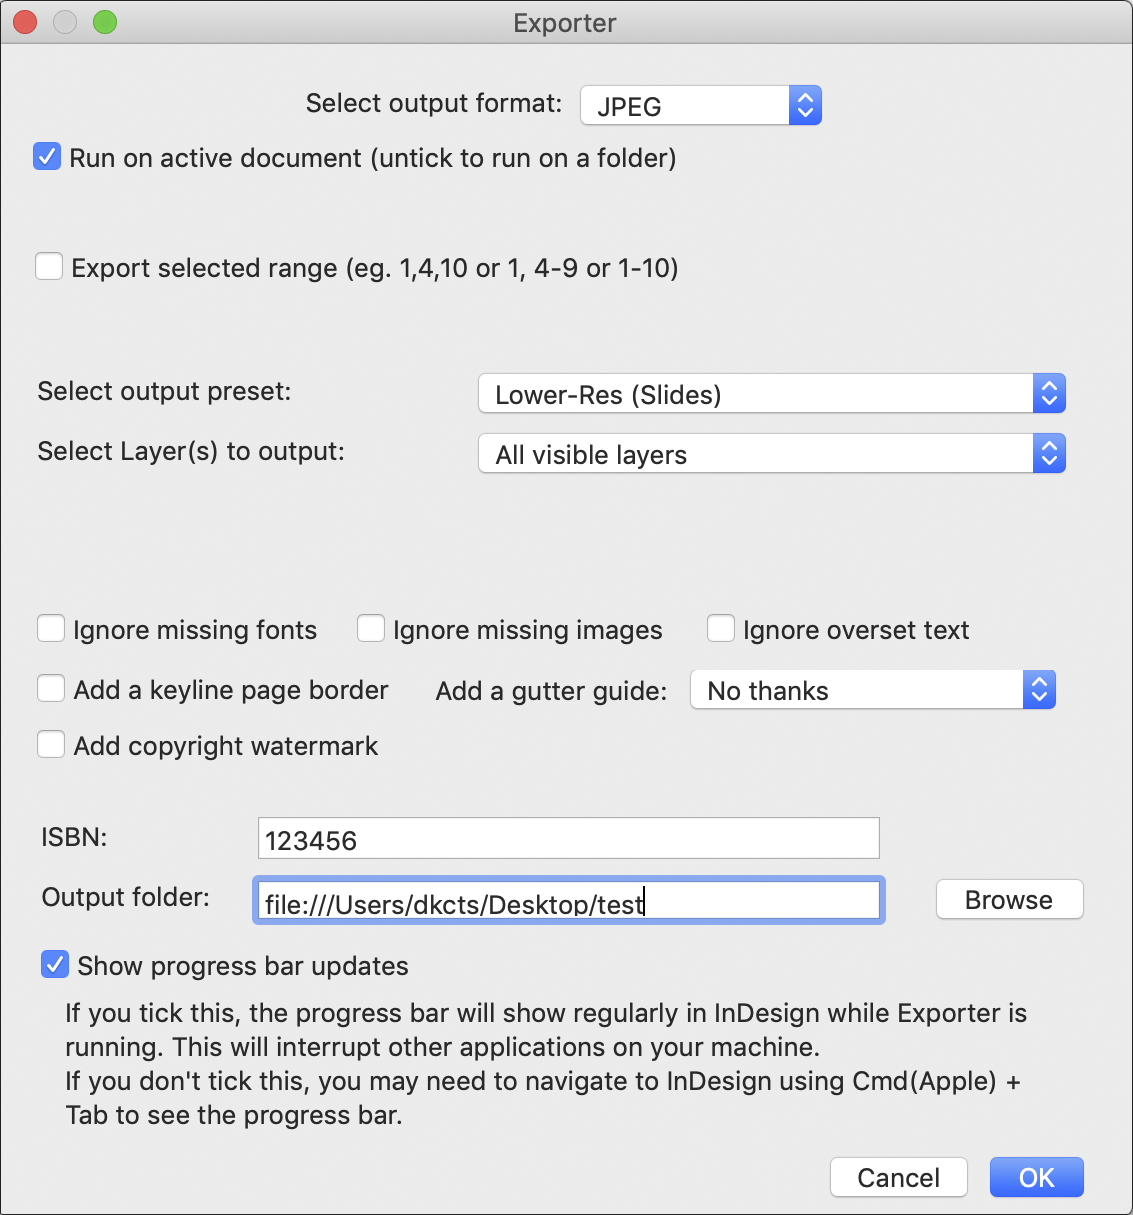
- Export each spread as a JPEG via Exporter from the Fuse menu as per the screengrab below (if you need to do a batch of spreads, untick Run on active documents).
- This will produce correctly named single spread JPGs, regardless of whether your files were created with multiple spreads or not.
- Label all spreads using ISBN_left hand page number using 3 numbers (ie. 1405308761_016.jpg)
- Let your Sales/Jacket Coordinator know when these are ready.
- Place on the Sales Operations file server ( smb://stranddata06/Sales Operations$ ) and inform your Sales Operations contact (log a call with IT if you do not have access to this server)
- WIP material should be created by designers on dates agreed with Sales Operations at the start up meeting for the book
Google slides
Google Slides are used for many sales meetings.
Jackets or spreads placed in Google Slides will not need keylines around them as these will be added within Slides.
Jackets and spreads should be exported via Exporter in the Fuse menu, as per the screengrab below (if you need to do a batch of spreads, untick Run on active documents).
If you need to add a hinge crease to the front of the jacket, please check with Phil Ormerod what the specs should be.
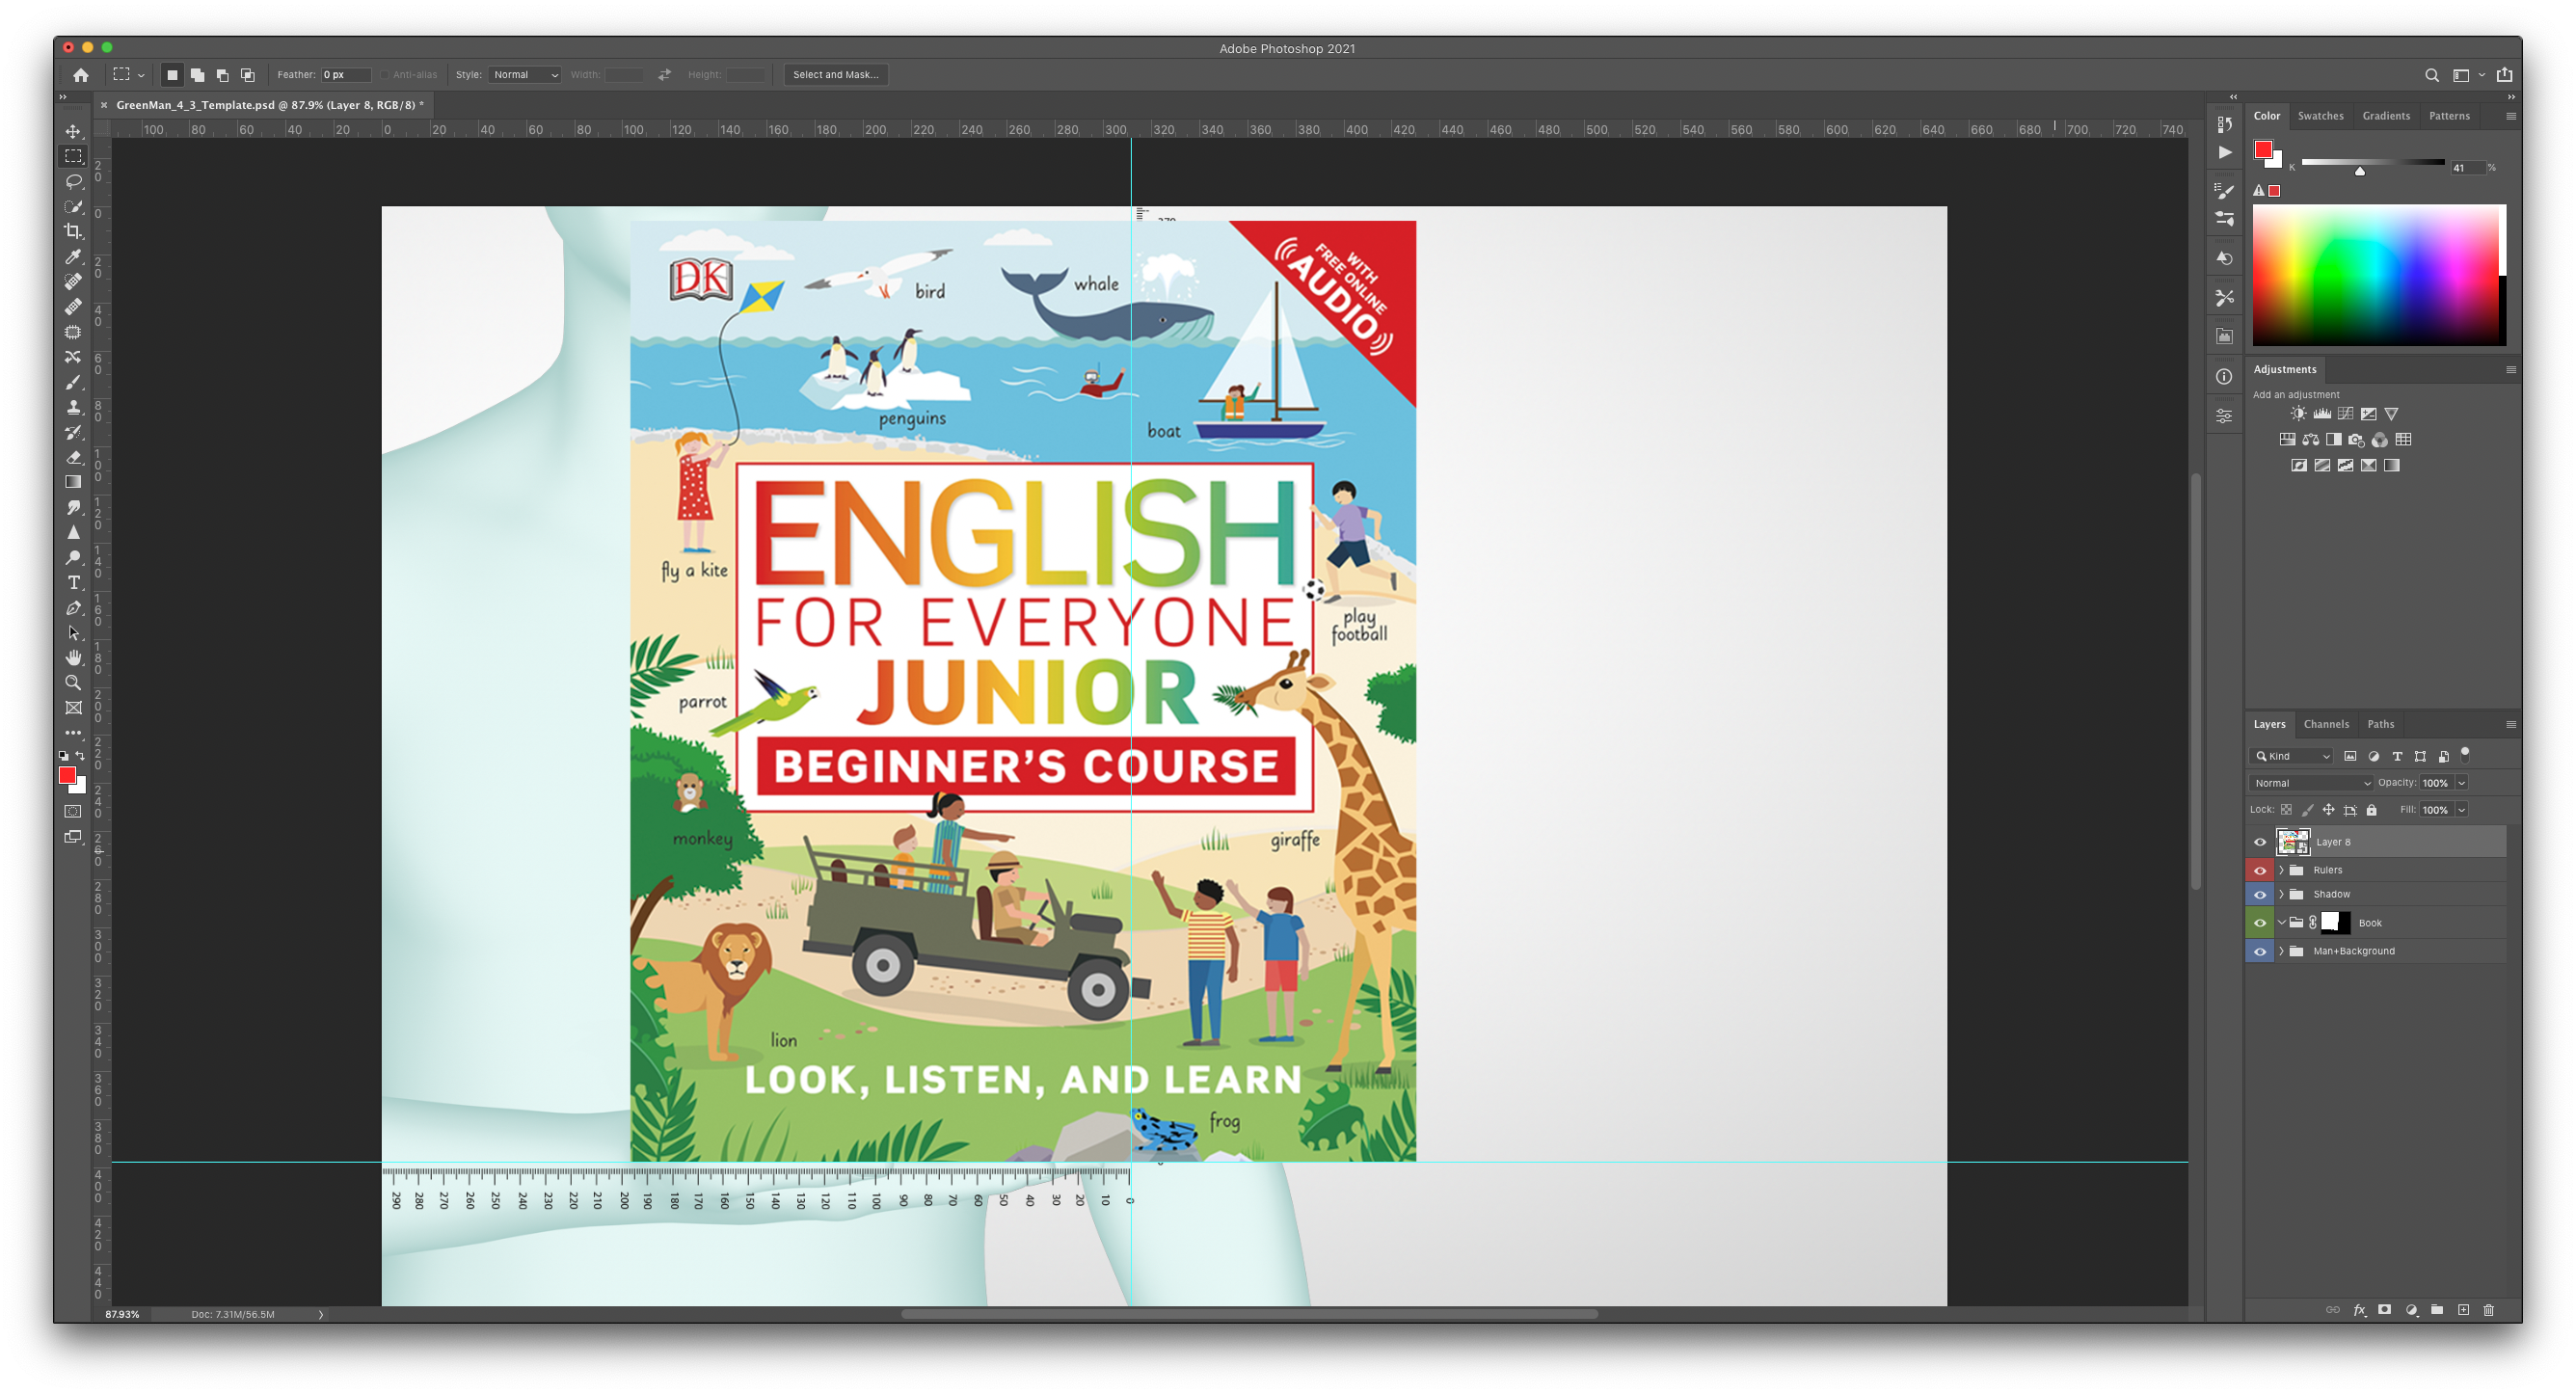
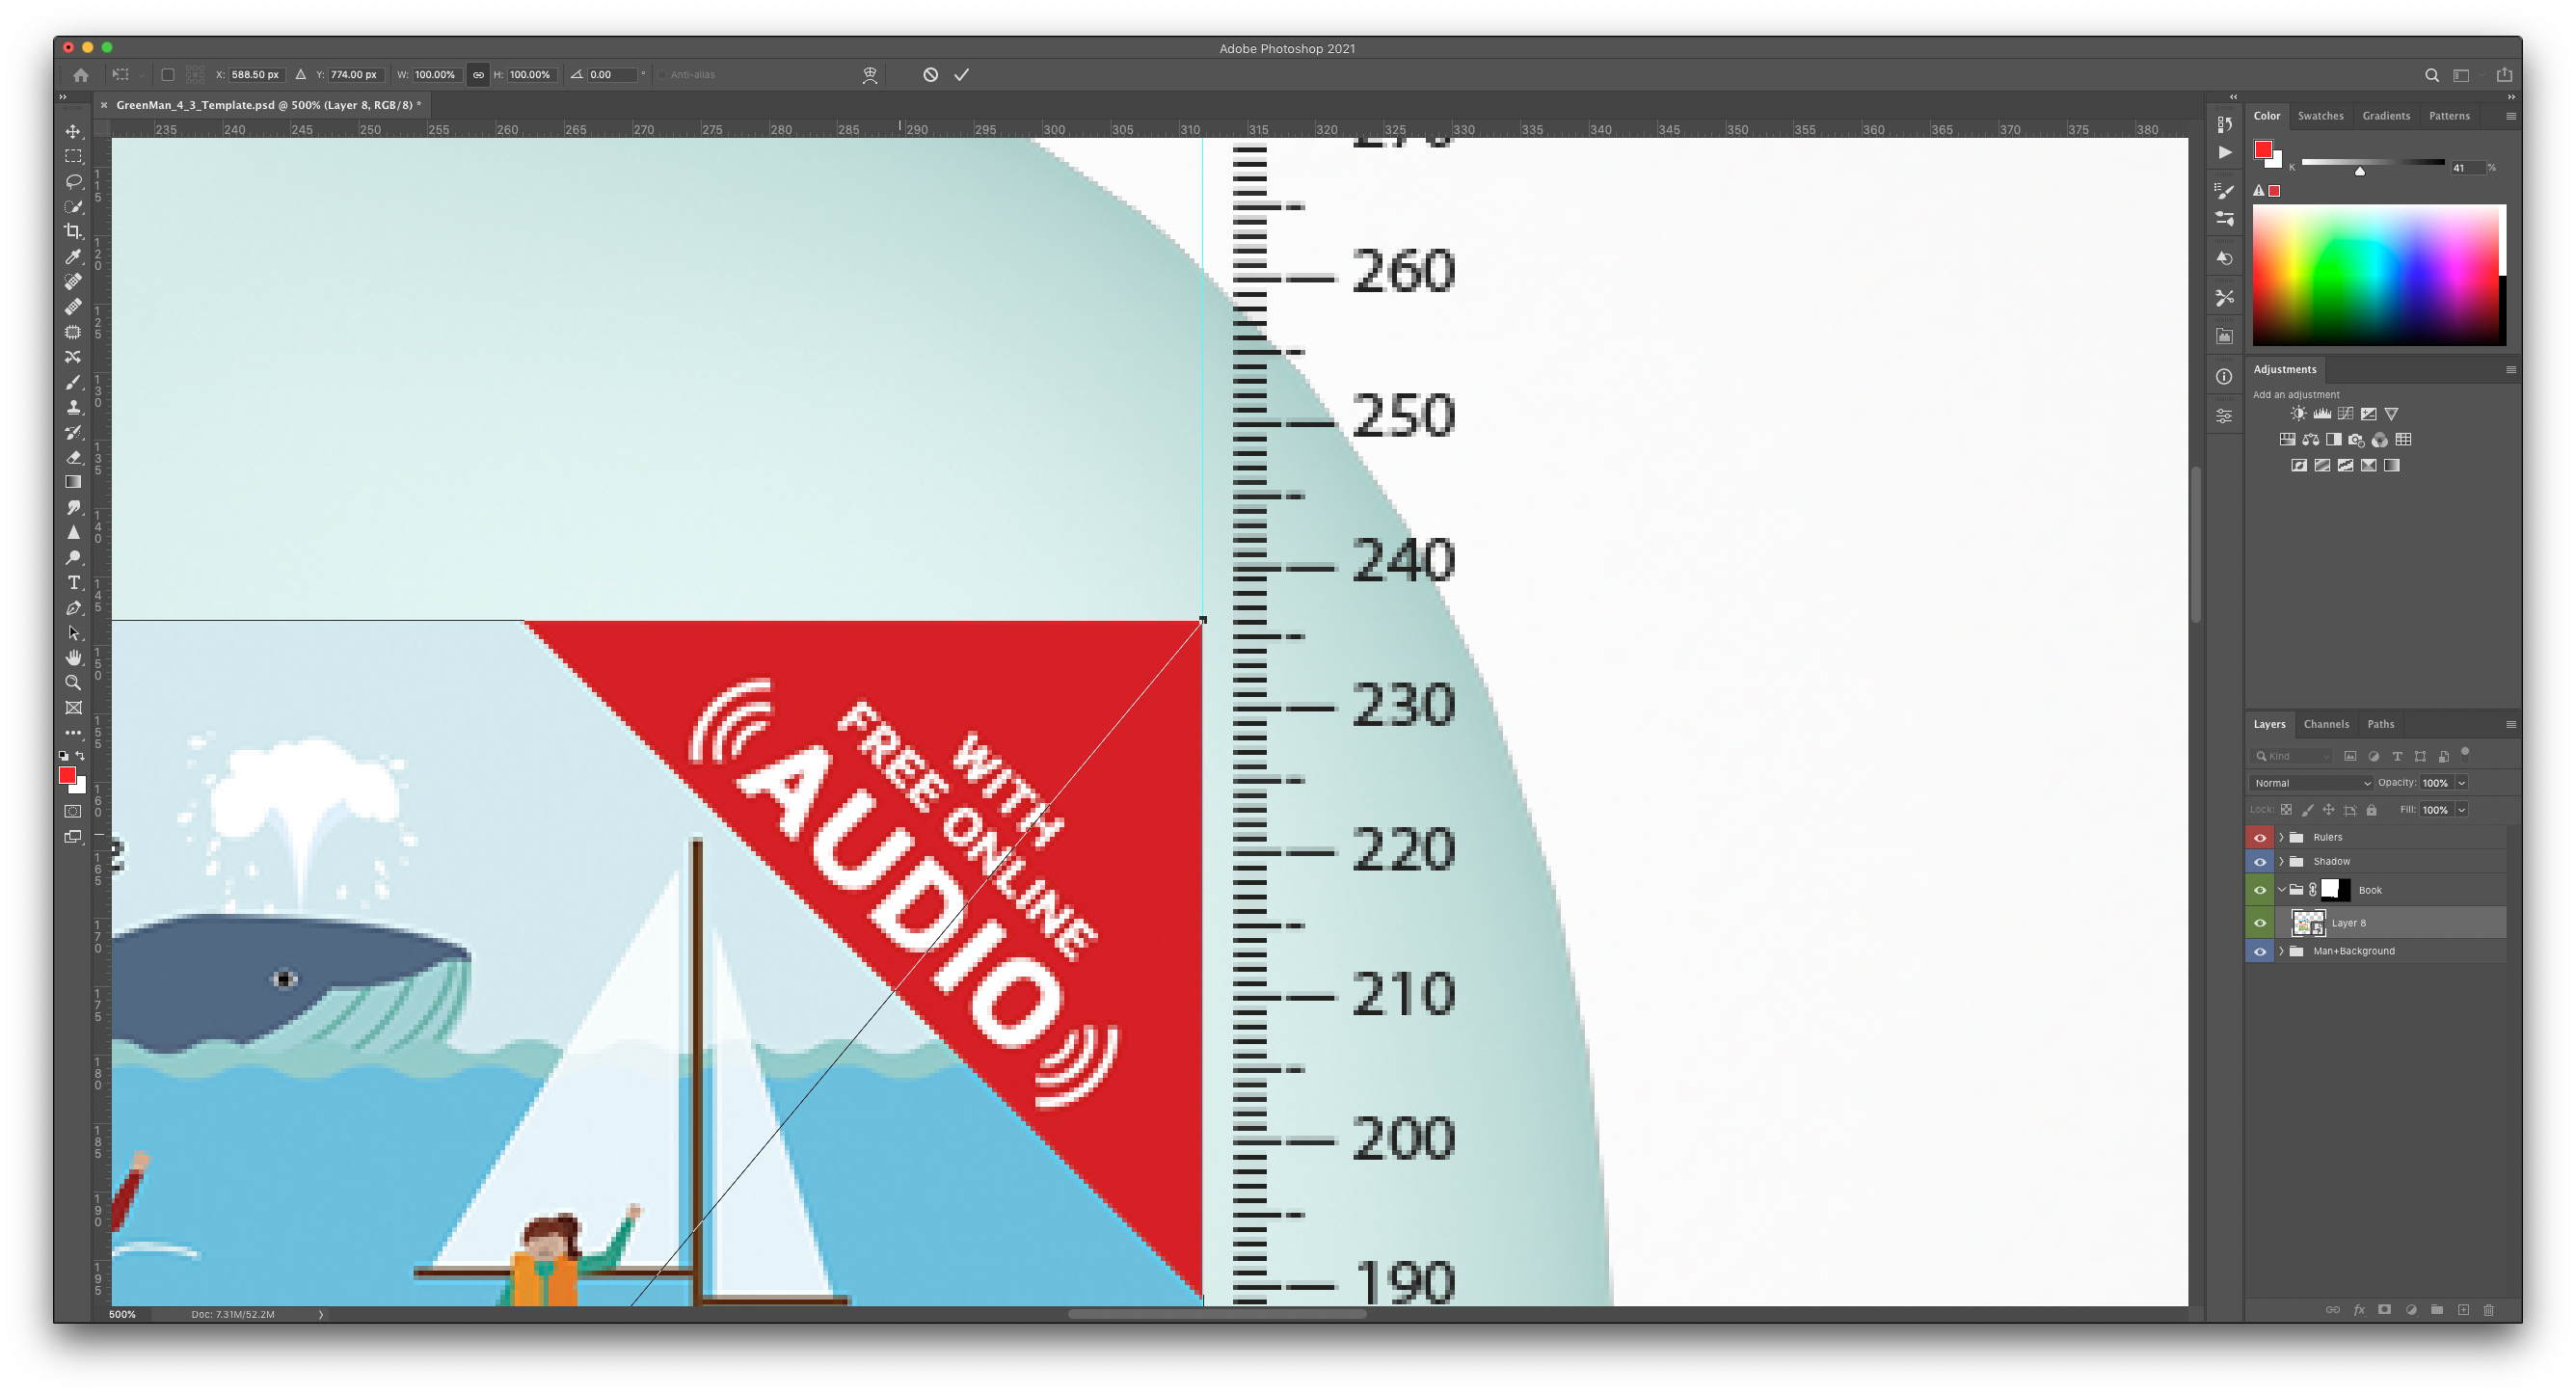
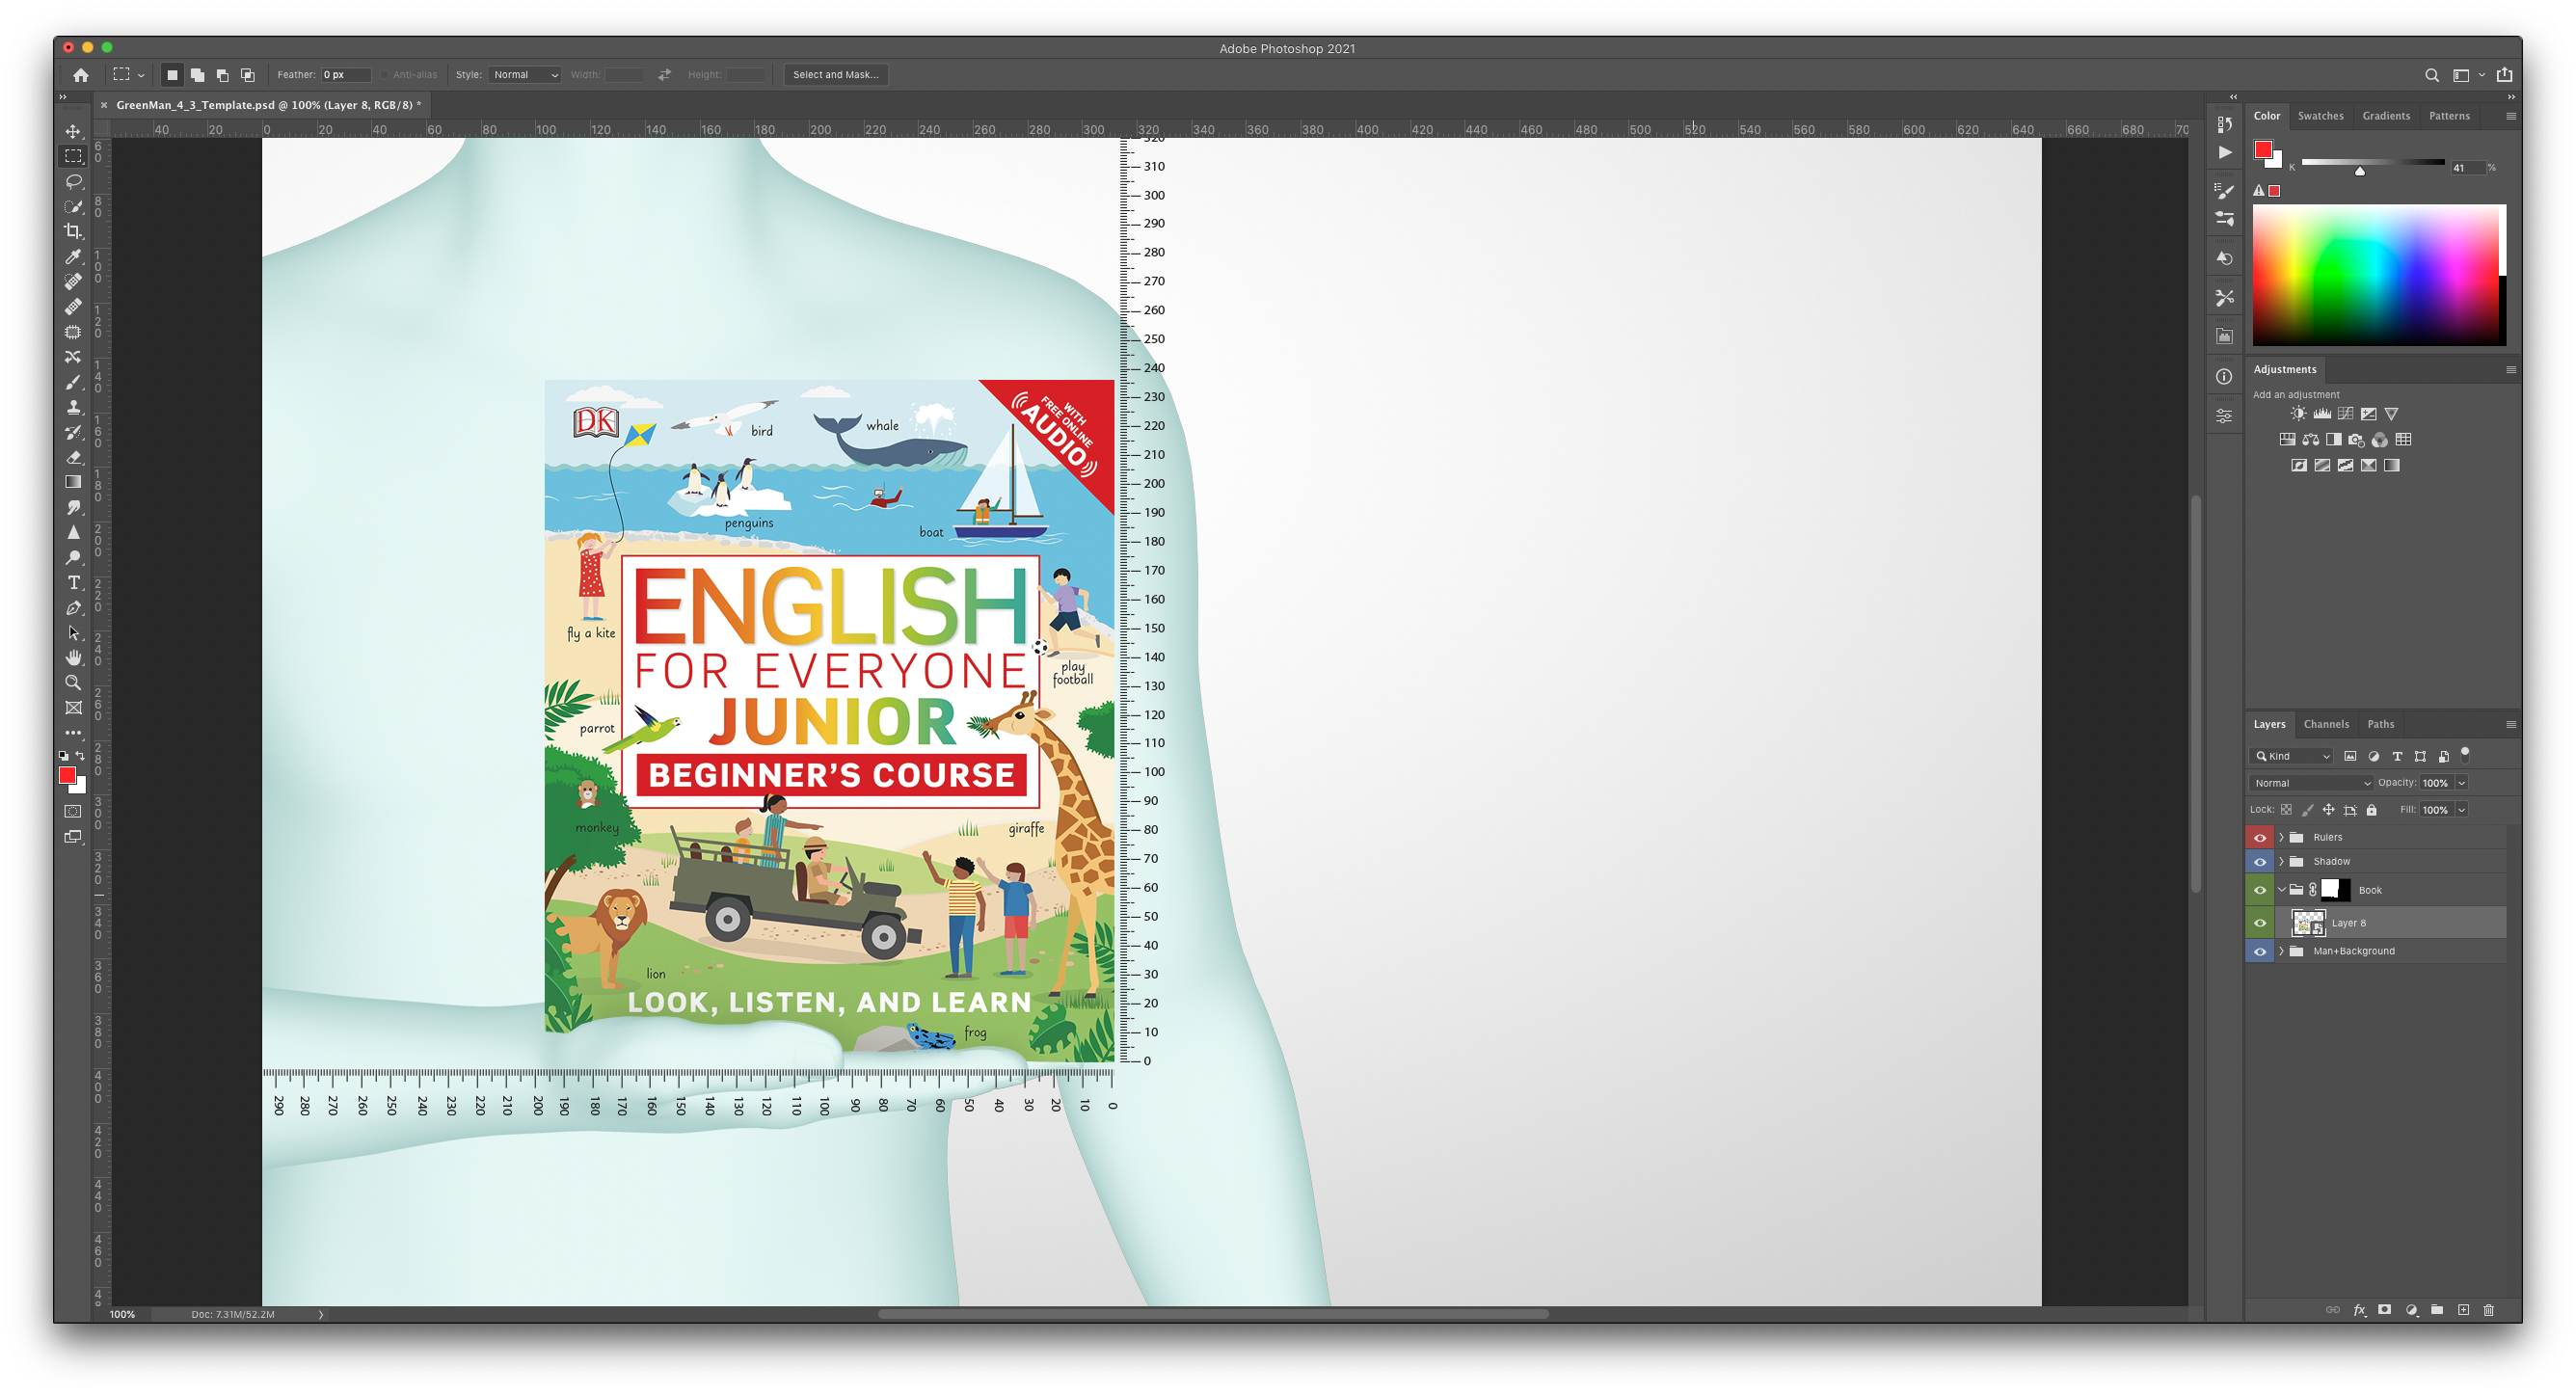
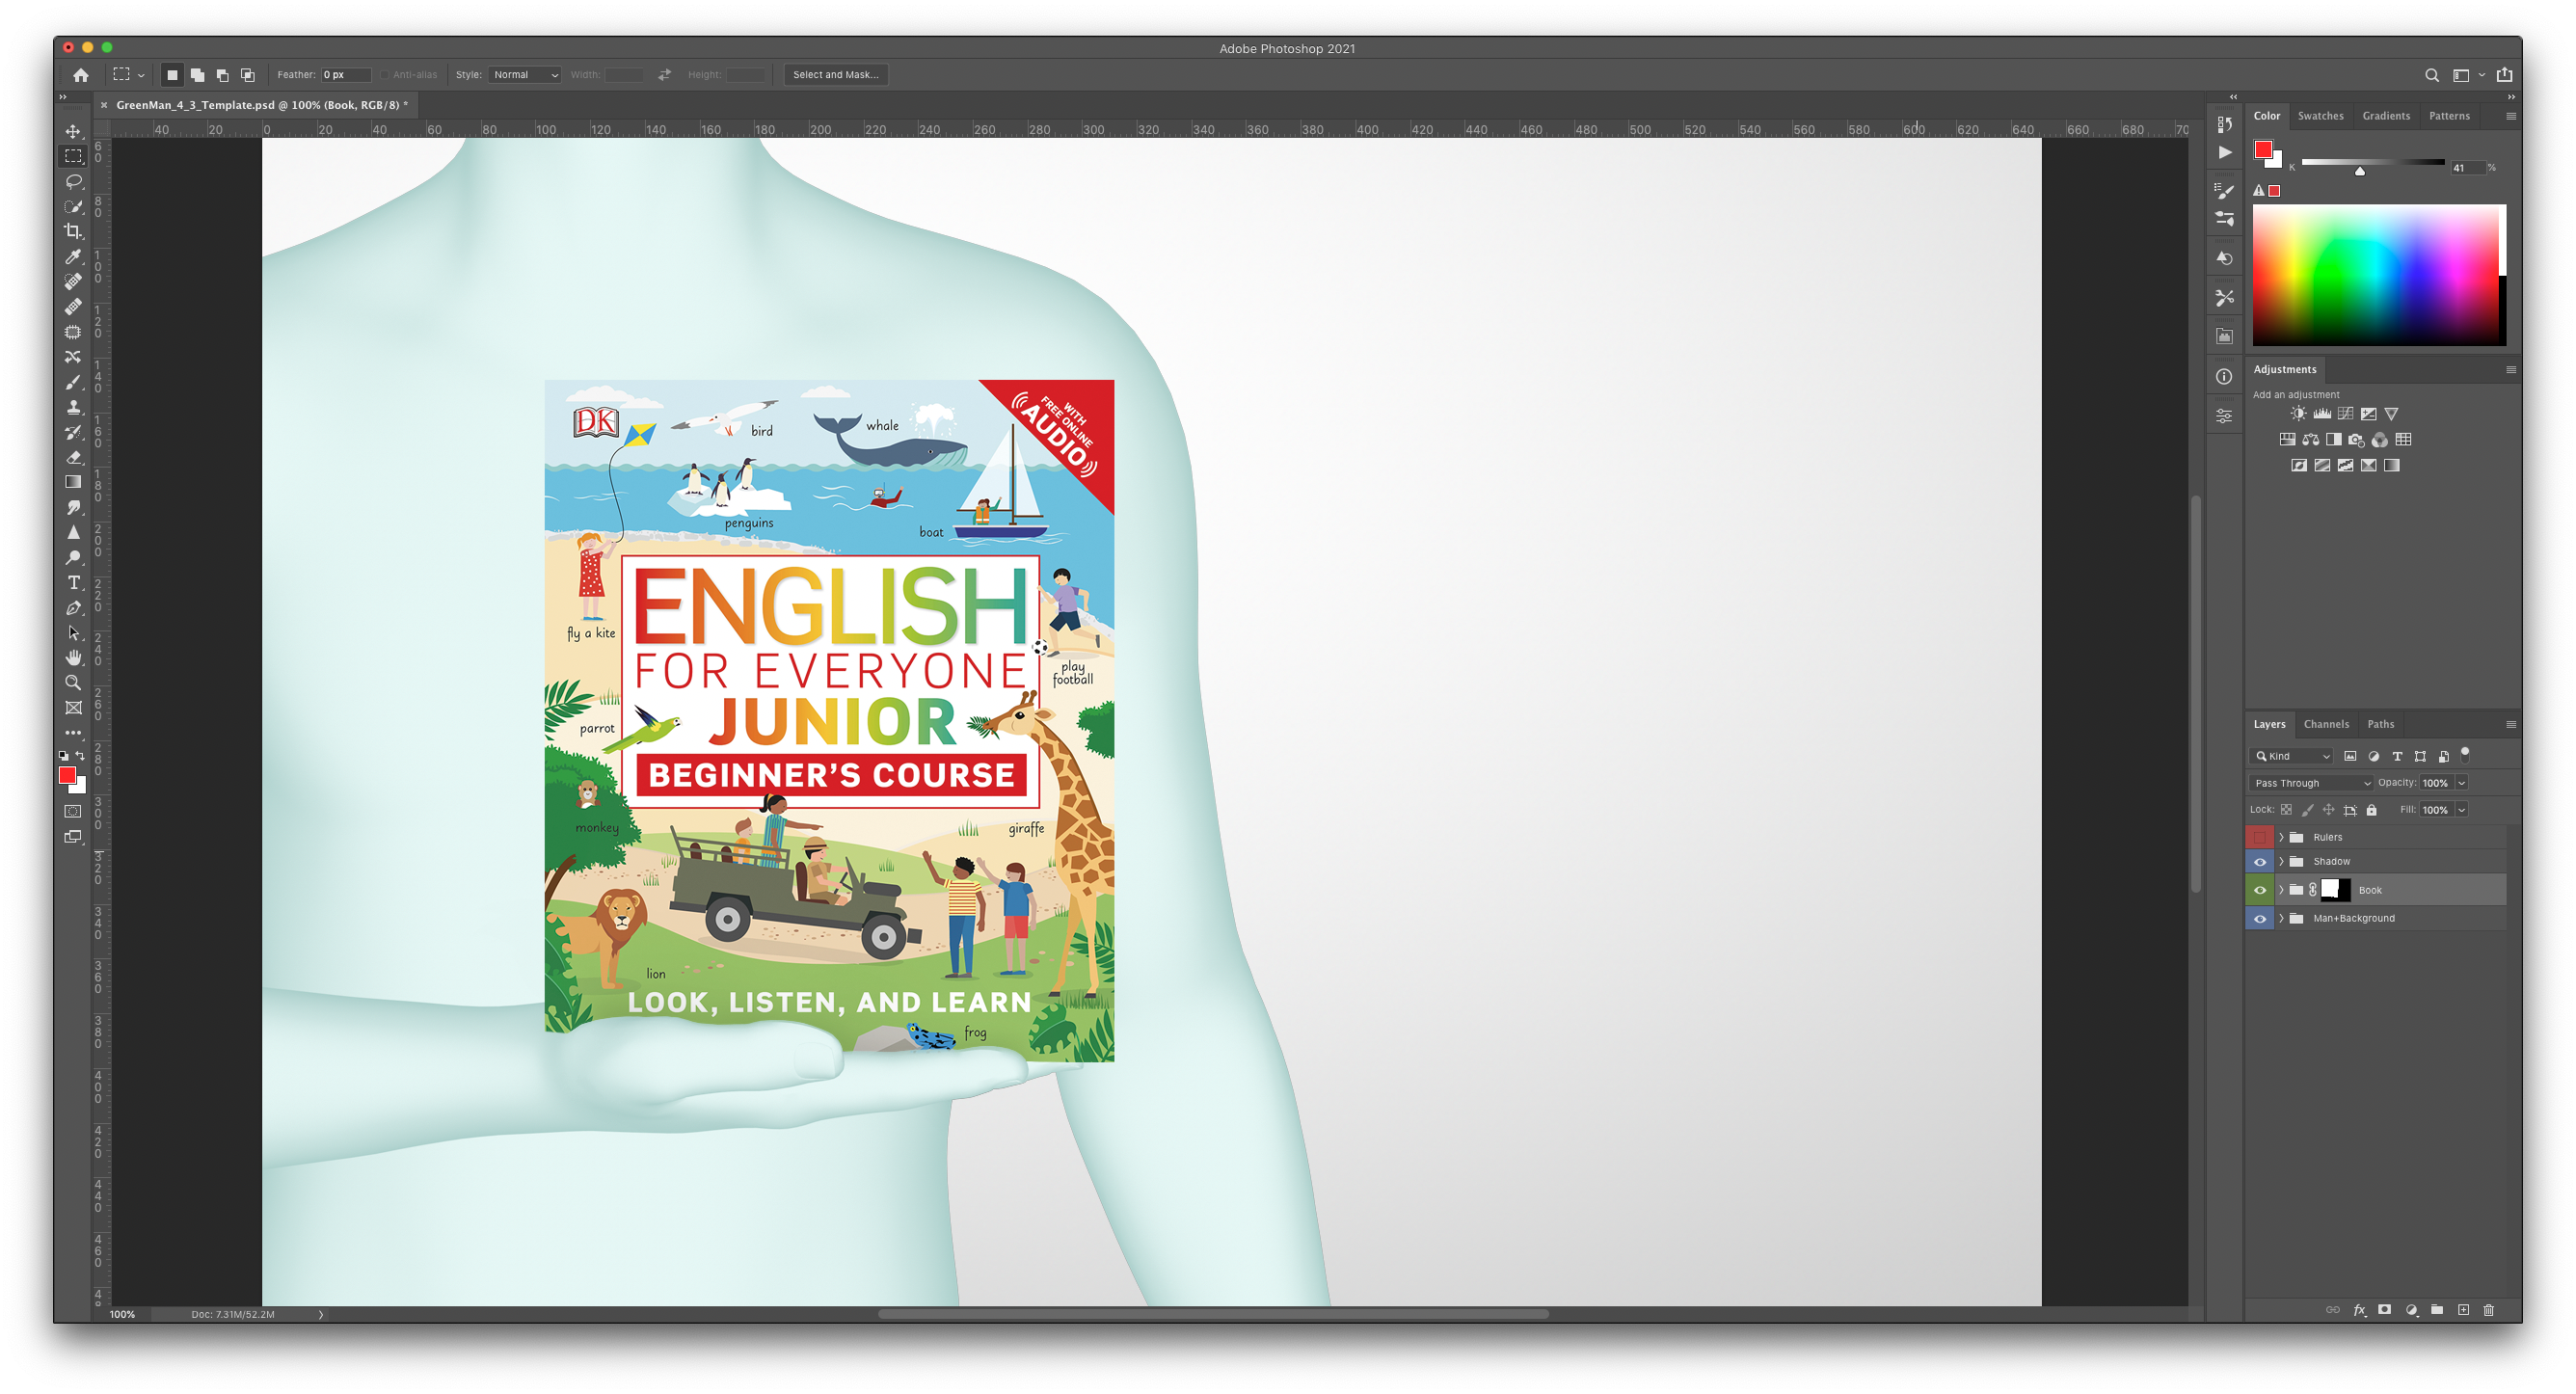
Creating the ‘green man’ slides
The Photoshop template can be downloaded from here:
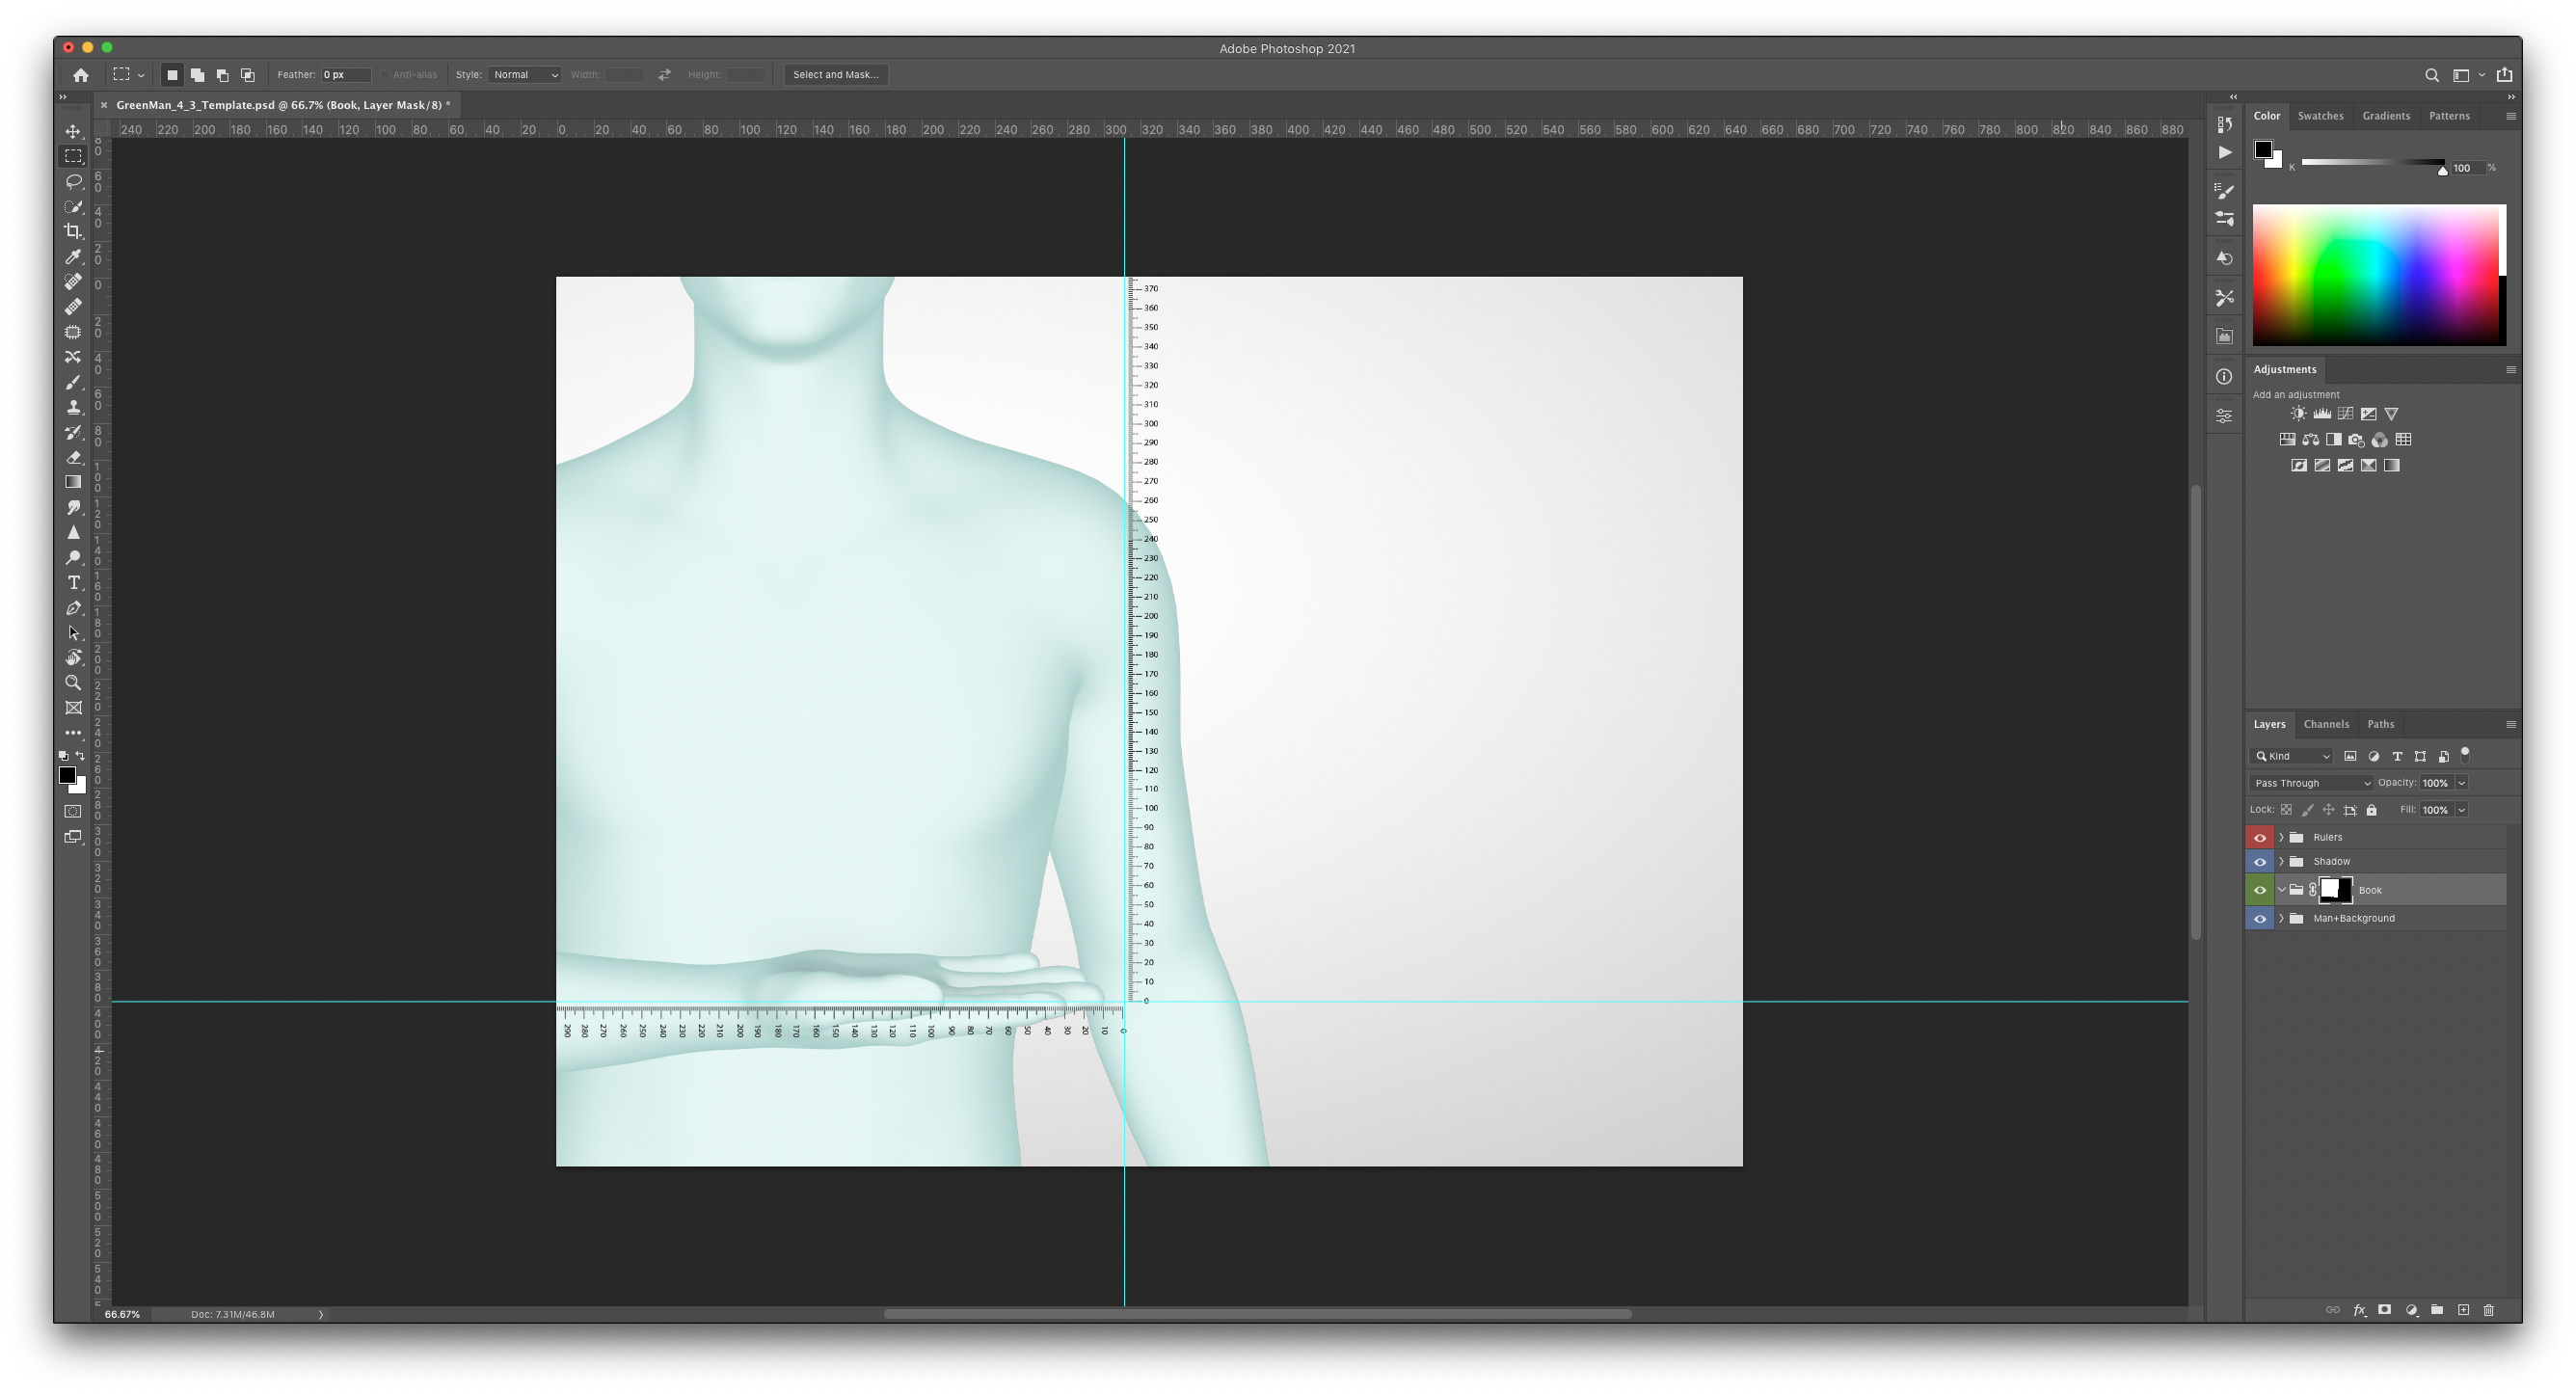
Add the jacket to the photoshop template