Boxshot overview
Overview
Boxshot provides an easy and relatively quick way to create and render photorealistic objects commonly used in marketing. It comes with a selection of pre-modelled 3D objects that each have some level of customisation and can be textured and lit in a straightforward way. It is also possible to import external 3D objects or export them for further manipulation in other 3D software.
Layout
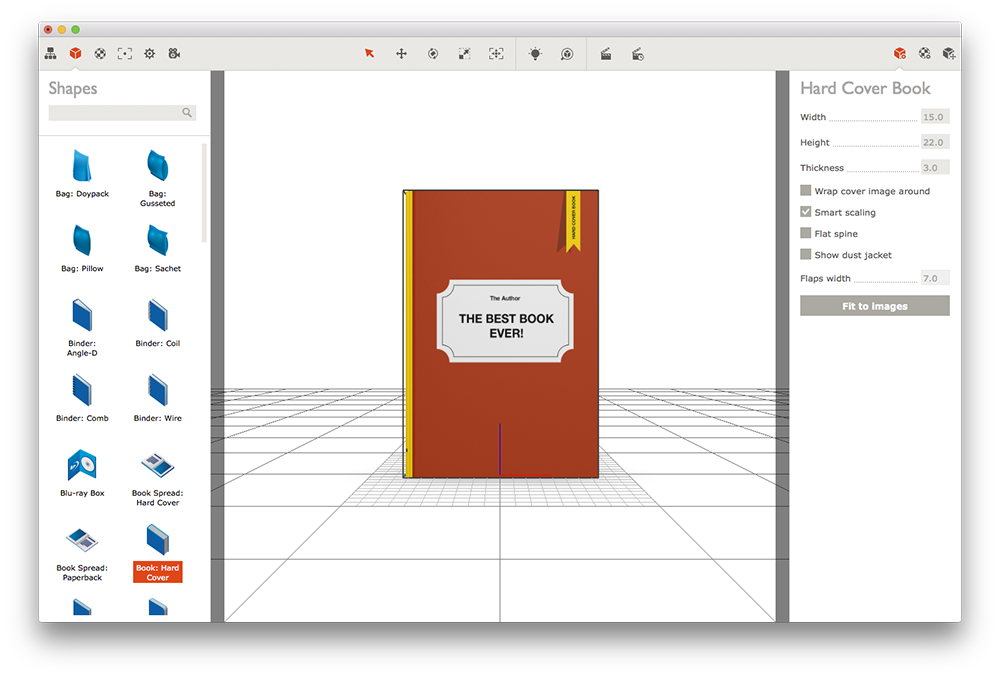
Boxshot features two main panels on the left and right and a centre viewport. The panels are activated and switched using the icons at the left and right parts of the toolbar. Clicking the icons shows the panel, a second click hides it. Clicking another icon switches panels. Left and right panels are shown and hidden independently.
Icons at the middle of the toolbar are the shortcuts to the most frequently used features of the application, like cursor mode and rendering. All the buttons have hotkeys and corresponding menu items. There are some useful things in the menu, but most features of the application are in the left and right panels.
Left Panel
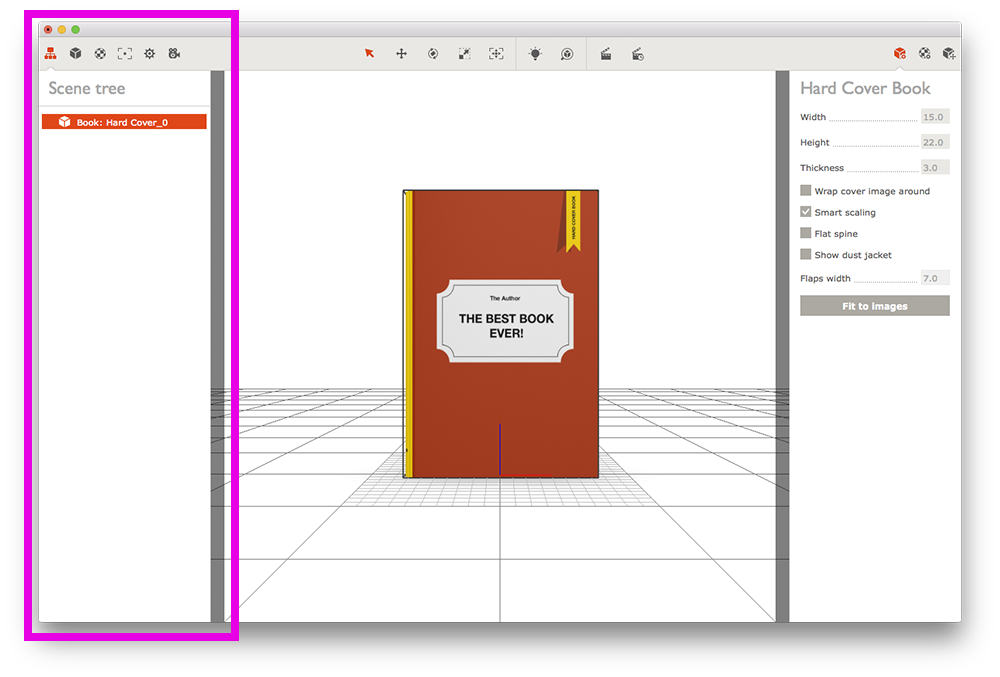
Scene Tree
Shows all of the objects and elements that make up the current scene/project.
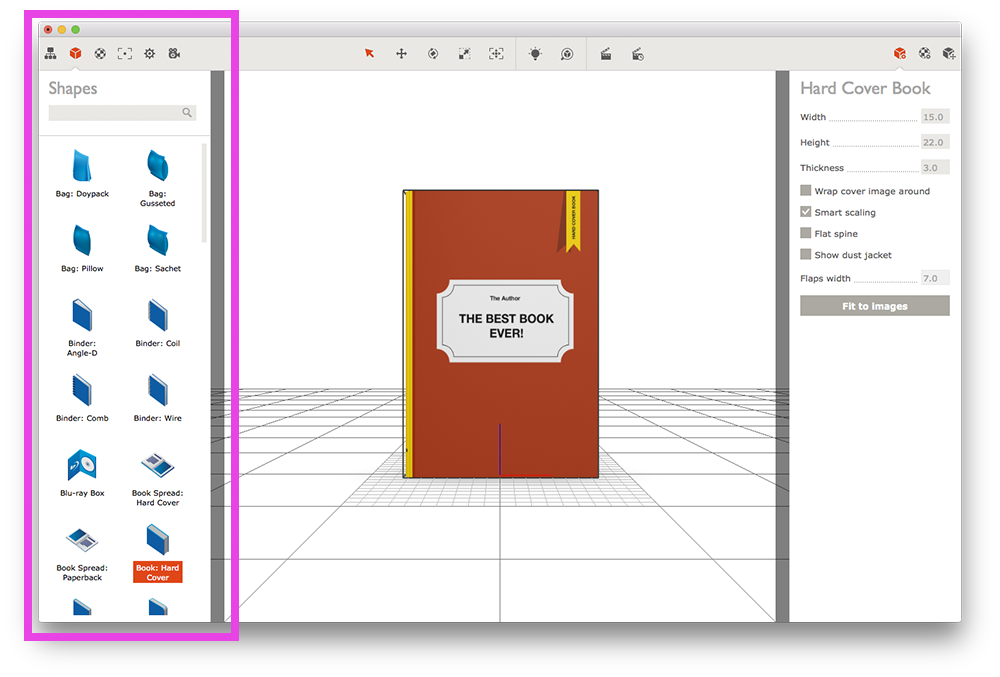
Shapes
Various pre-modelled objects common to marketing and advertising campaigns. Double-click for the object to load into the scene. Select the object in the main view and ‘right-click’ to bring up the option to delete. Objects have contextual menus for customising properties like dimensions and textures. It is also possible to import an external 3D model with this panel.
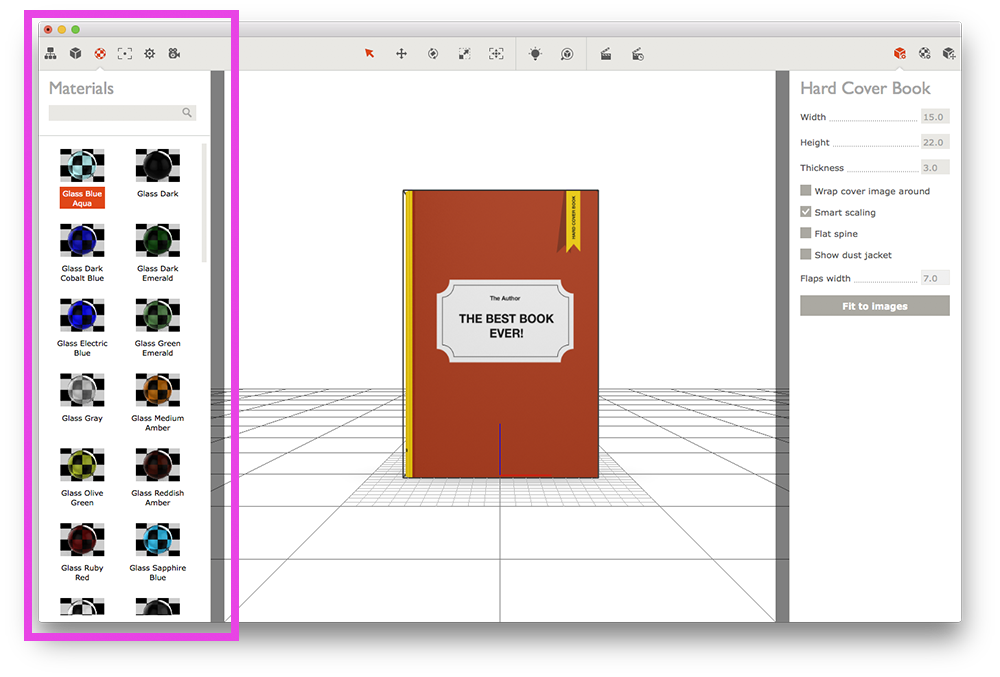
Materials
Library for backgrounds, environmental elements and surfaces.
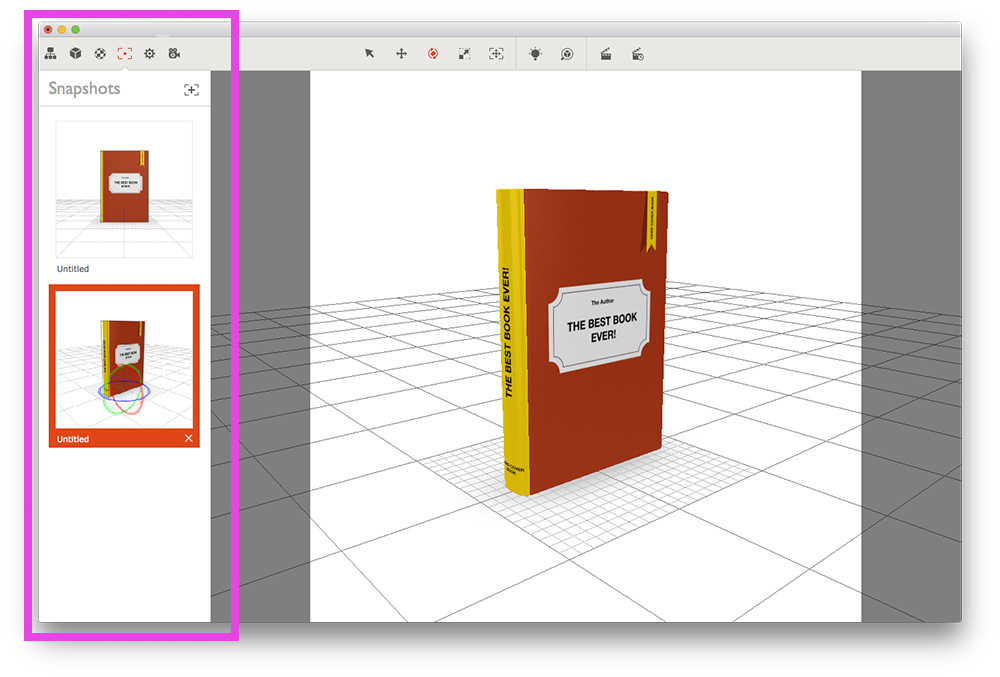
Snapshots
Used for storing multiple camera parameters such as zoom, rotation, distance and field of view. It is also possible to use this feature to make animations with the options in the Render Menu by transitioning from one snapshot to another.
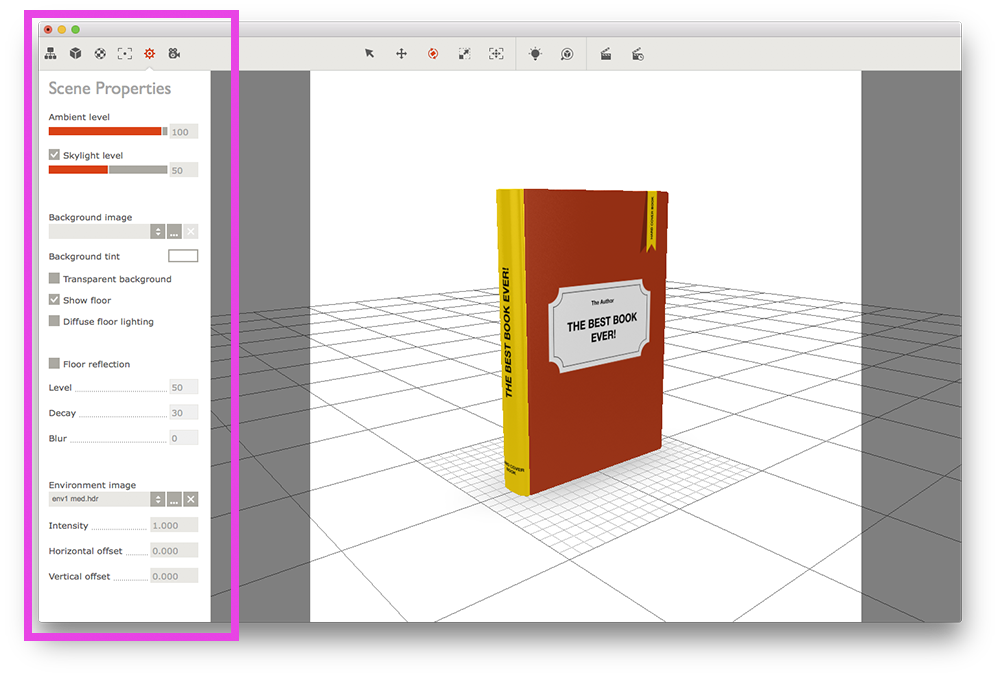
Scene Properties
Options for changing a background image, having a transparent background, reflections and ambient lighting within a scene.
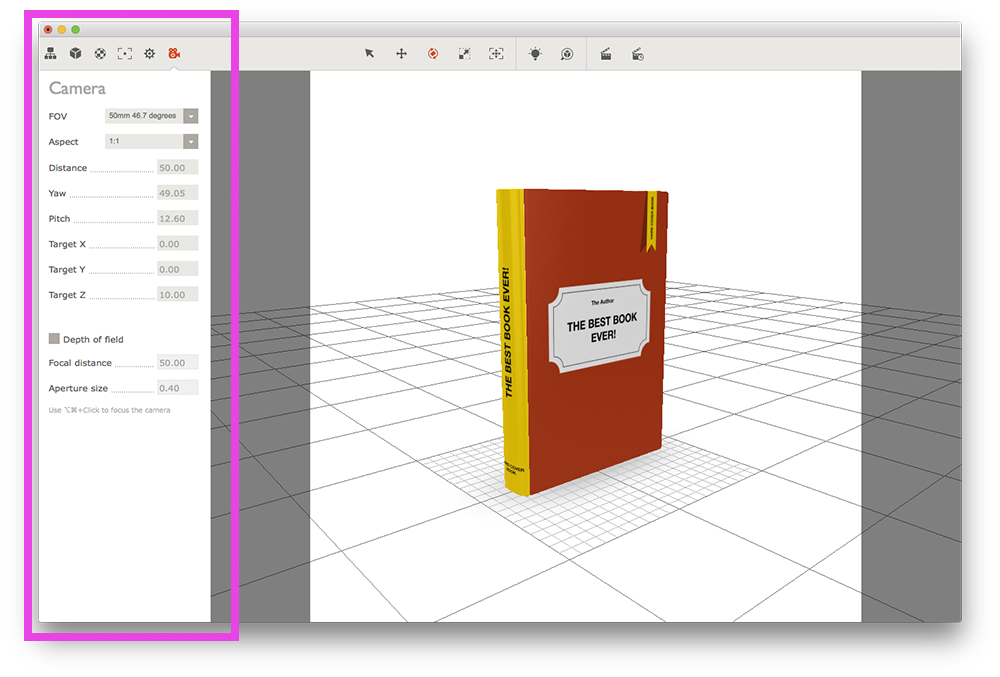
Camera
Camera properties such as field of view, aspect ratio, depth of field and move controls. Some of these can be achieved using the mouse to move the camera around a scene but others can only be made in this section. For example, the mouse controls will control the ‘pitch, yaw and distance’ but not the target positions.
Right panel
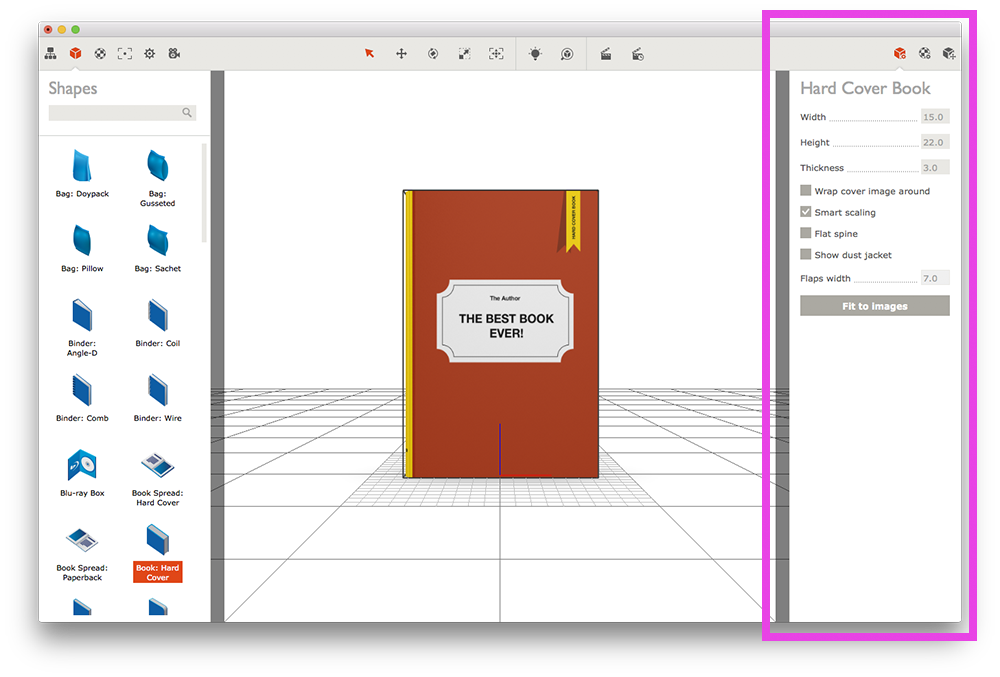
Properties
Contextual controls for a selected object in a scene. Properties such as dimensions can be adjusted here along with specific options for the selected object (example: whether the hard cover book has a flat spine or not).
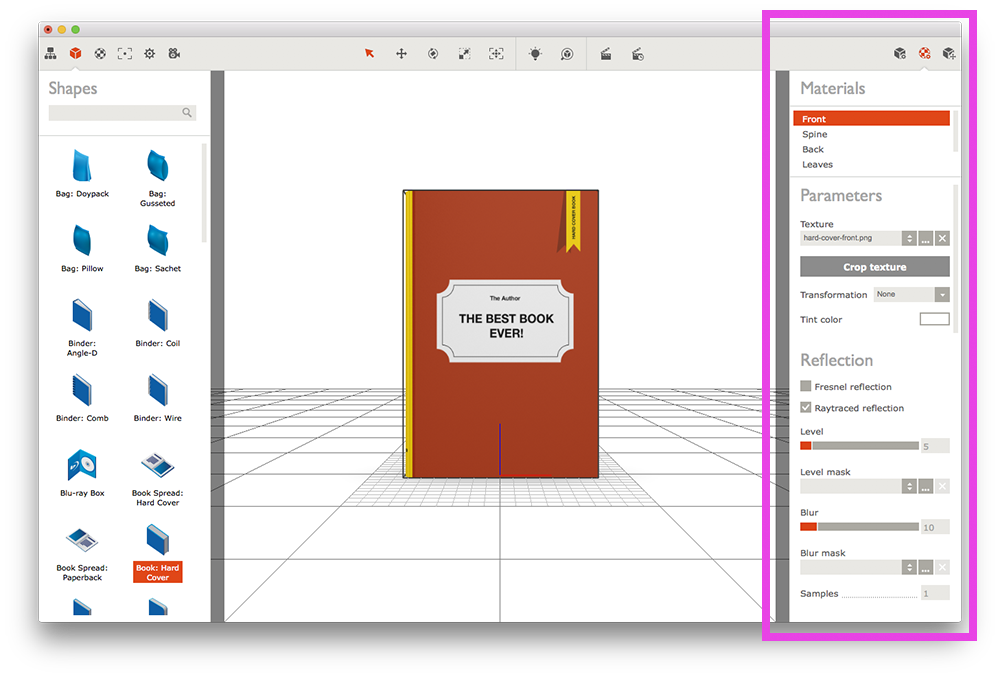
Materials (for selected object)
This panel is where you assign textures and materials to various parts of the selected object. There are also controls for material opacity, reflectiveness and bump maps (texture height information).
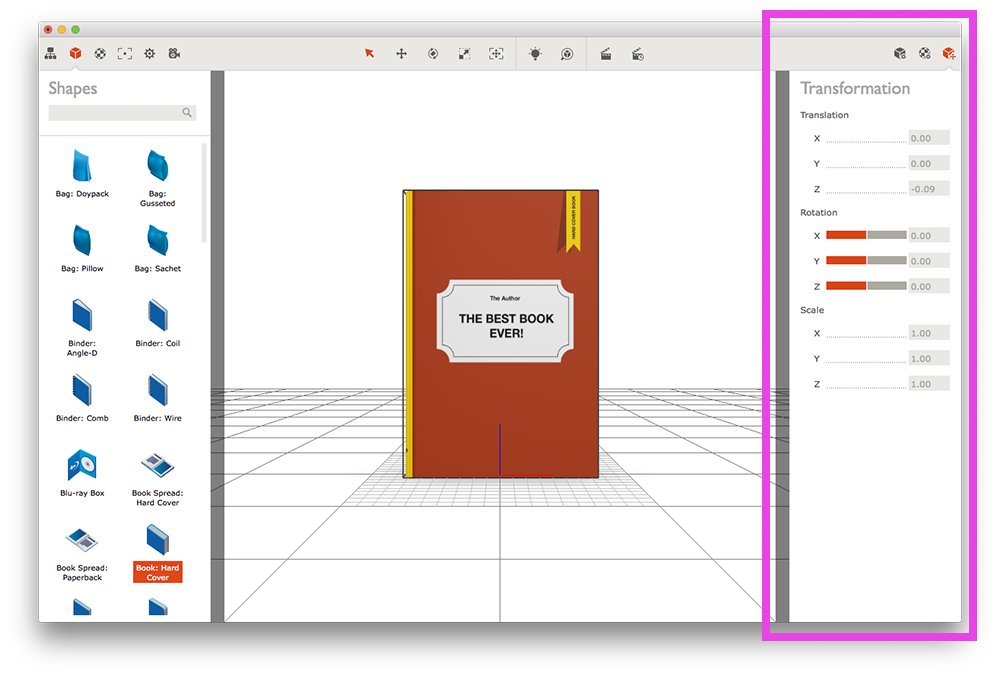
Transformation
Options for moving, scaling and rotating the selected object within the scene (not the same as moving the camera position).
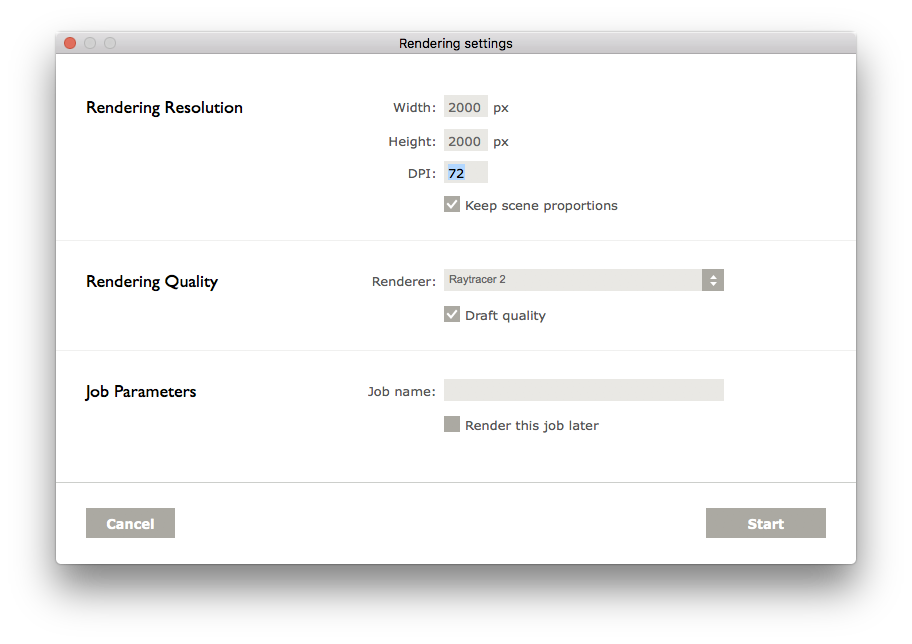
Rendering
The Rendering settings panel allows you to specify the size and quality of your final image. It takes into account the reflectance, light and shadow settings you have applied to the scene as well as any options such as if you want a transparent background or not. It’s worth remembering that the final render might not look exactly like the scene preview.
Render times can vary greatly depending on the complexity of the scene, the types of effects you have chosen to use, the size of the final image and the speed of your computer. Generally, it is recommended that you try rendering with the ‘draft quality’ option ticked on as more often than not, the final output is of an acceptable quality but is produced at a fraction of the time than if this option is not on. You could re-render at full quality afterwards if necessary but be prepared for longer output times.
Once the render is done, you will have the option to save the final image. Select the file format you require (use PNG if you want to retain any transparent backgrounds).