Remove Alpha channels – batch processing
These guidelines are for the MA team only and we do not recommend this process to the creative teams.
This process may take some time, depending on the quantity of image files. It may be useful to do this on another computer if one is available.
Please follow these steps to remove Alpha channels in batches of Photoshop files. It runs on folders and subfolders.
- Click on the download button at the bottom of this post. It will download a .zip file containing the Photoshop Action.
- Double-click on the .zip file once it’s downloaded. This will uncompress the file, ready for use.
- Open Photoshop.
- Double-click on uncompressed, downloaded file named NoAlphaChanels.atn. This will automatically load into the Photoshop’s Actions folder, making it available for use (this part of the process only needs to be done the first time you use it).
- Create a new folder somewhere on your computer, to serve as a destination in which to save the images once the Alpha channel is removed.
- In Photoshop (without any Photoshop files open) go to File>Automate>Batch…
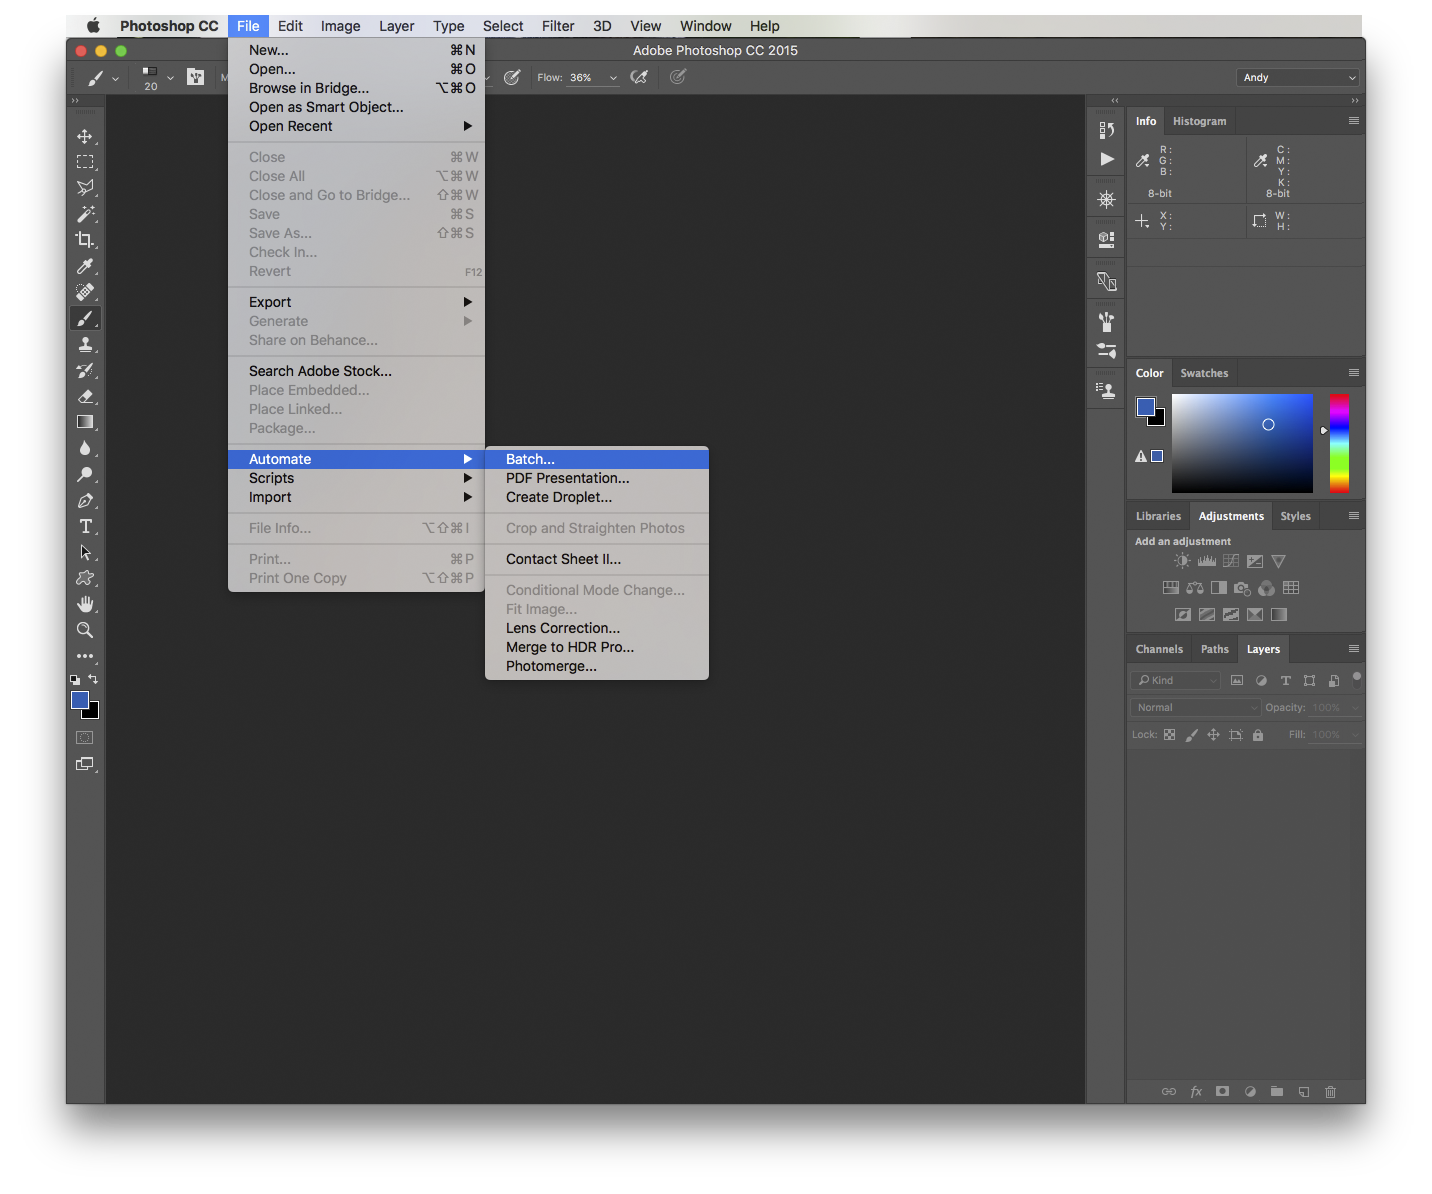
- Change the Set and Action to NoAlphaChannels.
- Click on the Choose button located under Source and navigate to your unprocessed image folder.
- Click on the Choose button located under Destination and navigate to your new destination folder (which you created in the earlier step).
- Uncheck the Override Action “Open” Commands check box and and ensure the others are checked as per the screenshot below.
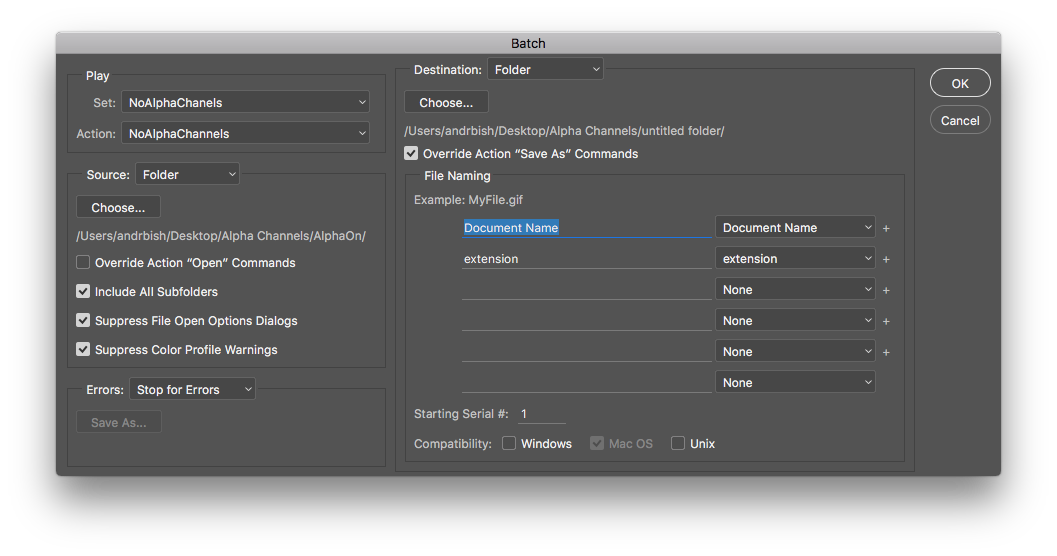
- Click Okay.
This process will not delete or overwrite your original files as long as you create a destination folder and direct it there as outlined in the steps above.
Once Photoshop is finished batch processing your images they will appear in your destination folder ready for upload to MA.